


14
Copyright © 2004 Nokia. All rights reserved.
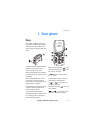
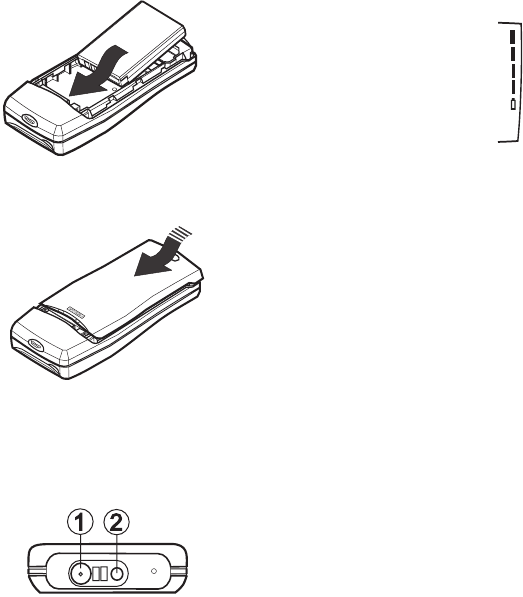
4. Replace the battery.
5. Slide the back cover into its place.
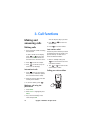
Charging the battery
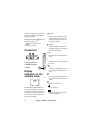
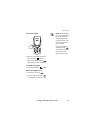
Bottom View
1. Attach the lead from the charger
carefully to the socket (1.) on the
bottom of your phone.
NOTE: Connector (2.) is the head-
set connector. Do not plug your
headset in the charger connector.
It may damage the charger con-
nector.
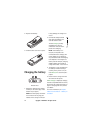
2. Connect the charger to an AC
wall outlet. The battery indi-
cator bar starts to scroll.
The text Charging is briefly
displayed if the phone is
switched on. You can use the
phone while charging.
NOTE: If the battery is to-
tally flat, it may take a few
minutes before the charging indi-
cation appears on the display or
any calls can be made. The charging
time
depends on the charger and
battery used. For example, charging
a BLB-2 battery with the ACP-8
charger takes about 1 hour 40 mins.
3. The battery is fully charged when
the battery indicator bar stops
scrolling. If the phone is on, the
text Battery full is also briefly dis-
played.
4. Disconnect the charger from the
AC outlet and the phone.
If Not charging is displayed, charging
has been suspended. Wait for a while,
disconnect the charger and plug it in
again. If charging still fails, contact
your dealer.
For more information, see chapter
‘Reference Information’ - ‘Battery In-
formation’.