14
TEST
PRESET
ENT
MUTE
LIGHT
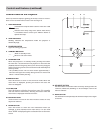
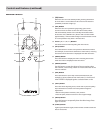
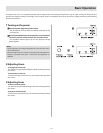
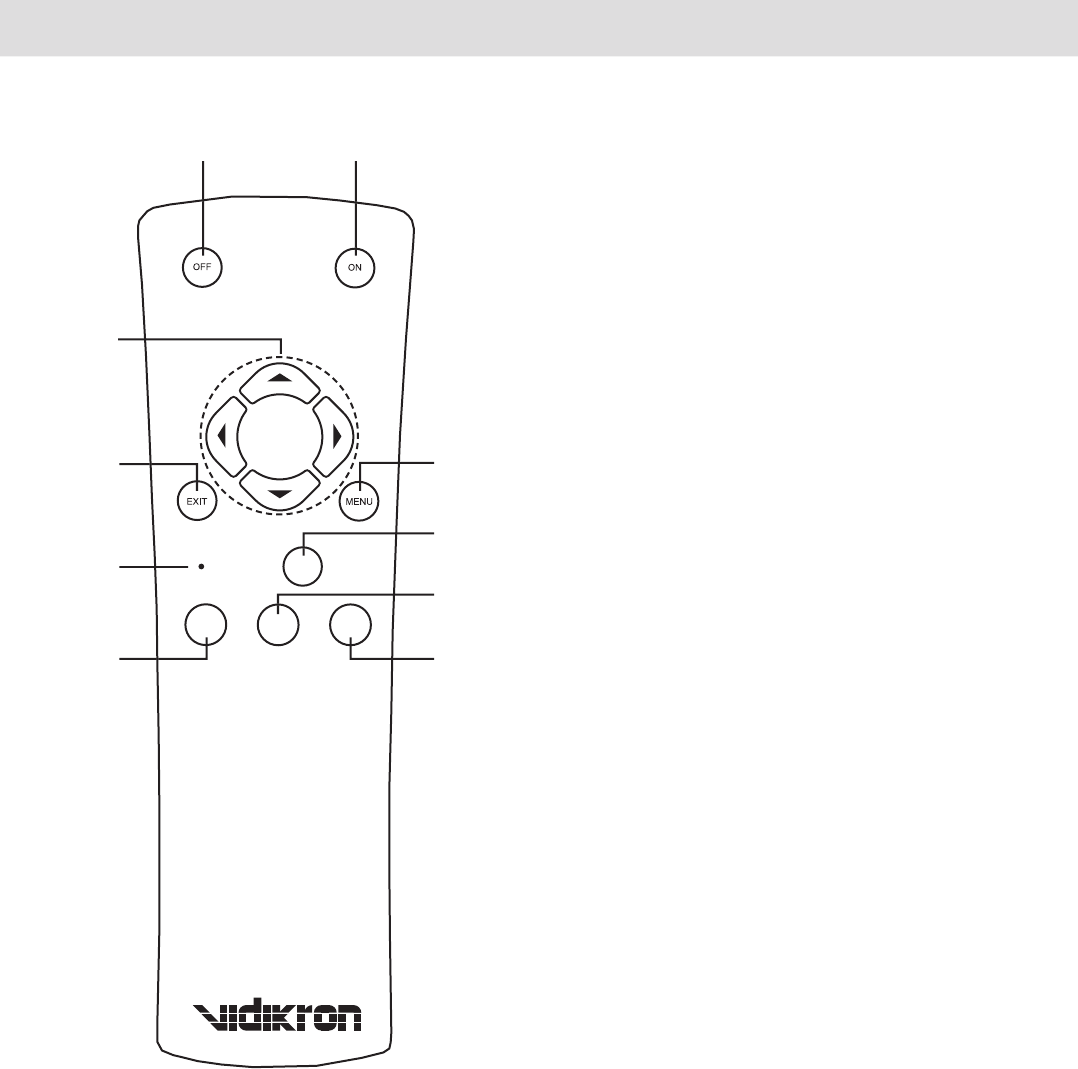
1. [ON] Button
When this unit is in the standby mode, pressing the button
for more than 1 second will turn this unit on and cause the
[OPERATE] indicator to light up.
2. [OFF] Button
When this unit is in operation (projecting), press it for 1
second or more to switch to the cool down mode, which
will automatically switch to the standby mode after about
90 seconds. The [OPERATE OFF] button will not work within
approximately 1 minute after the light source has been turned
on. Start operation only after 1 minute’s time.
3. Cursor [
3
/
4
/
5
/
6
] Buttons
Use these buttons when adjusting the menu items.
4. [EXIT] Button
Press this button to return to the previous hierarchical menu
(for example, to return from submenu to main menu). Pressing
this button when the menu is displayed will clear the menu.
5. [MENU] Button
Press this button to display the menu. Pressing this button
when the menu is displayed clears the menu.
6. [PRESET] Button
Use this button to reset the values to factory settings when
the “Gamma”, “Color temp.”, “Mask” or “Picture shift” item in the
menu is selected.
7. [ENT] Button
Press this button to show the next hierarchical menu (for
example, to enter submenu from main menu). It is also used
when “ENTER” is displayed against a selection item on the
menu screen
8. [TEST] Button
Press this when adjusting focus, screen size or picture quality.
Press the button to switch to the test pattern image for
adjustment.
• Alter the test pattern with the [TEST] button.
• Press the [EXIT] button to return to the original image.
9. [MUTE] Button
Press this button to temporarily clear the video image. Press
again to resume.
10. [LIGHT] Button
Lights up illumination (light) of the remote control buttons for
about 10 seconds.
1
2
5
7
9
10
4
6
8
3
Remote Control
Controls and Features (continued)


