


Setup and Connections
19
7
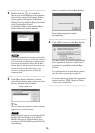
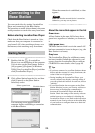
Read the “Dynamic DNS Terms-of-Use
Agreement” included in the carton box.
After reading the document, select the radio
button and then click [Next].
When you click [Next], the information
required for the Dynamic DNS is saved to
the Base Station.
8
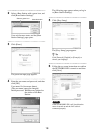
Follow the on-screen instructions to wait
until the NETAV LED stops blinking
(amber) and click [Next] when the NETAV
LED turns off.
z Tips
• The NETAV LED continues to blink for about
1 minute before turning off.
• If the NETAV LED turns on amber, check that
the router and modem are turned on and the
LAN cable is connected properly.
• When the NETAV LED turns green, another
device is connected by NetAV. Wait until the
LED turns amber to perform this step.
• NetAV cannot be used via a proxy server.
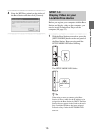
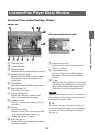
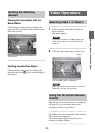
9
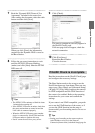
Click [Check].
The setup is complete if [Success] appears in
the [NetAV Check] page.
If the test page does not appear, check the
network connection.
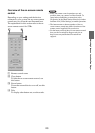
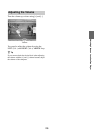
10
Click [Exit Setup].
Restart the Base Station.
Close the browser.
Read the instructions on the [NetAV Check] page
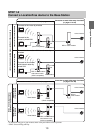
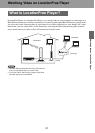
and configure the necessary settings.
The Base Station needs to be set up to use the
NetAV function away from home. There are two
setup types: [Easy Setup] and [Advanced Setup]
(1 page 35). [Easy Setup] requires the router to
be UPnP compatible and the UPnP function of
the router to be enabled. Refer to the operating
instructions for your router and confirm the
settings.
If your router is not UPnP compatible, you prefer
not to use the UPnP function of the router, or if
you use the UPnP function but the setup is
unsuccessful, port forwarding needs to be set on
the router.
z Tips
• Setting port forwarding on the router requires a
static IP address to be set in the [Internet
Connection] frame of the [Advanced Setup] page for
If NetAV Check is incomplete