51
Copyright
© 2004 Nokia. All rights reserved.
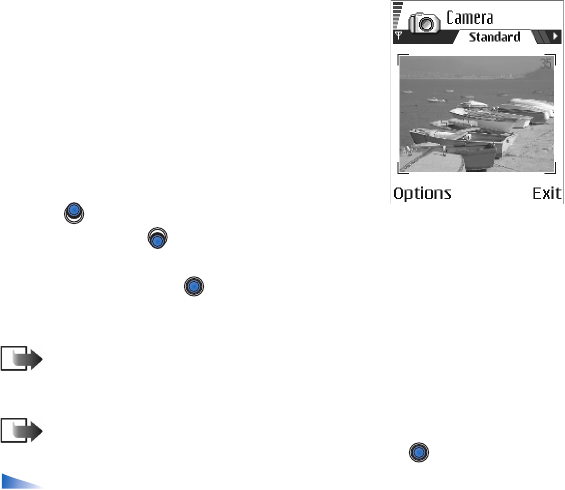
1. Press Camera in standby mode. The camera
application opens and you can see the view to be
captured.
You can see the viewfinder and the cropping lines,
which show you the image area to be captured. You
can also see the image counter, which shows you
how many images, depending on the selected
picture quality, fit in the memory of your phone or
memory card, if you use one.
2. Press to zoom in on your subject before taking
the picture. Press to zoom out again. The zoom indicator on the display
shows the zoom level.
3. To take a picture, press . Do not move the phone before the camera starts to
save the image. The image is saved automatically in the Gallery. See ‘Gallery’,
p. 62.
Note: The resolution of a digitally zoomed picture is lower than that of a
non-zoomed picture, but the image remains the same size. You may notice the
difference in image quality if viewed on a PC, for example.
Note: Camera goes into battery saving mode if there have been no key
presses within a minute. To continue taking pictures, press .
Options after a picture has been taken: New image, Delete, Send, Rename
image, Go to Gallery, Settings, Help, and Exit.
