


Messages 55
Connect to the server
Connection process
1.
Press
,
and select
Messages
>
E!mail
, then
E-
mail 1
or
E-mail 2
depending on the one you wish
to use. Select
Open mailbox
and press
,
.
Mailboxes 1 and 2 feature the same settings and op-
tions. Configuring them differently will allow you to
have two different e-mail addresses from your phone.
2.
Your mobile phone automatically connects to the
e-mail server and downloads the e-mail headers.
If you didn’t receive any e-mail,
List empty
is dis-
played on the screen. Otherwise, the e-mail head-
ers are displayed in the form of a list.
3.
The total number of mails received and pending
on the server is displayed on the top of the screen,
as well as the number of pages needed to display
all headers.
4.
Your mobile phone retrieves five e-mail headers at
a time. If
Next
(respectively
Previous
) appears at
the end (respectively beginning) of the list, other
e-mail headers are pending: select one of the
available options and press
,
to retrieve them.
An e-mail without any attachment may be automati-
cally displayed in the details screen.
Headers information
Select a header, press
,
, select
Details
and press
,
again to see the address it was sent from, the date
and time at which it was sent, its subject and the size of
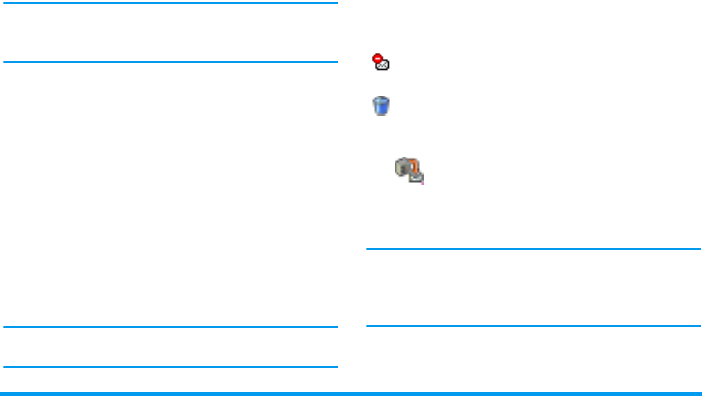
the attachment if any. The following status icons may
appear in regards to each header:
Download e!mails
Simply select one of the retrieved e-mail
headers and press
,
. Then select
Get
mail
and press
,
to download the
e-mail. Repeat this operation to download each e-mail
corresponding to each selected header.
You can also press
,
to access the e-mail headers’
carousel and select
Get mail
from the available options.
If the e-mail is too big (over 50 KB), it is rejected and
the download is cancelled.
[No icon] The e-mail can be downloaded.
The e-mail size is too large, it cannot be
downloaded.
The e-mail is marked to be deleted (see
page 57).
Get mail