Chapter 6
40 Additional Operations
4
Press or to scroll through the last 10 missed calls.
5
When the number you want to call is displayed, press .
OR
Press (OPTION) to add a prefix, to delete a number, to save a
number, or to delete all entries in the list. See
“Call History Options” on
page 40
for instructions.
Received Calls
1
From standby, press (MENU) to enter the Main Menu.
2
Scroll to
Call History
and press (OK).
3
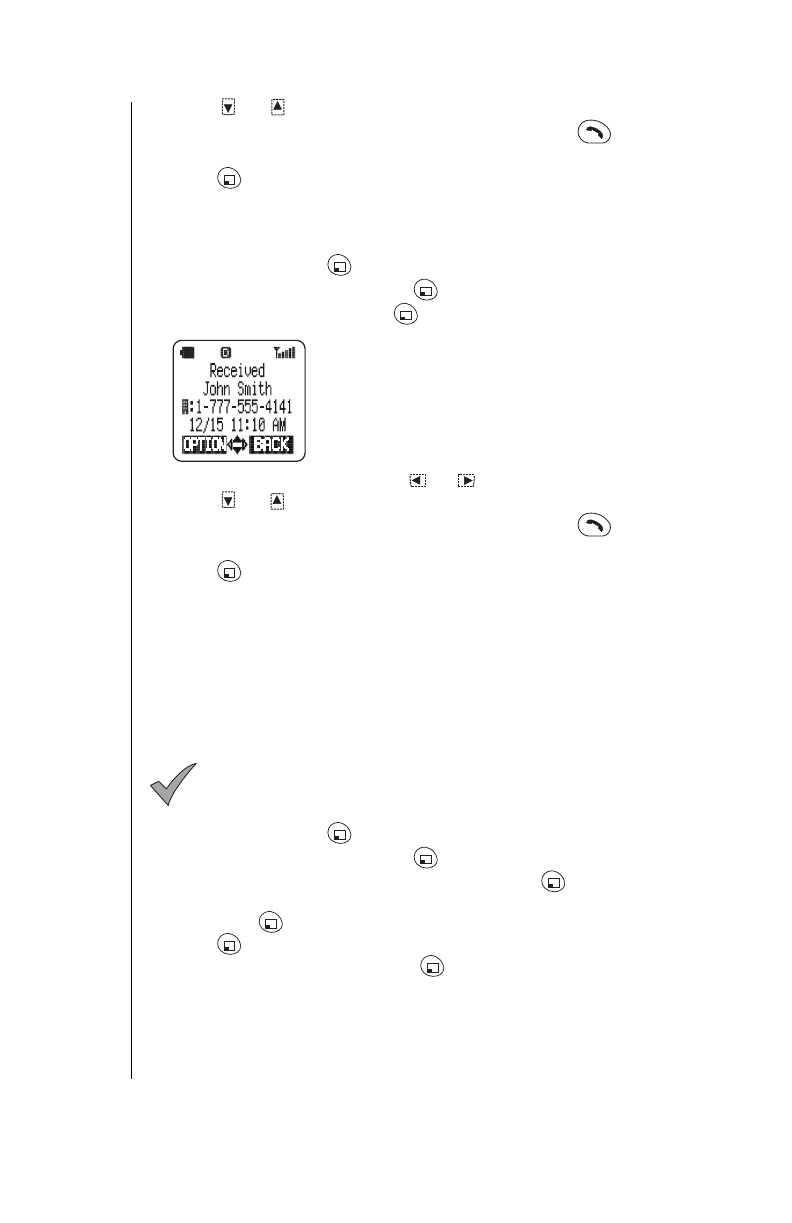
Scroll to
Received
and press (OK).
• The last received (answered) number is displayed.
• If the caller’s phone number matches an entry in
the Phonebook, the corresponding name appears.
• If you receive a phone call from a number that is
already in your received numbers list, the newer
record will replace the older one.
•
Dialed
or
Missed
calls can be checked by
pressing or .
4
Press or to scroll through the last 10 received calls.
5
When the number you want to call is displayed, press .
OR
Press (OPTION) to add a prefix, to delete a number, to save a
number, or to delete all entries in the list. See
“Call History Options”
below for instructions.
Call History Options
Adding a Prefix
This feature is useful if you call a local number and then travel to another
location (with a different area code) and want to call the same number. You
have the option of adding an area code.
Note:
If the phone number was originally stored with its area
code, the
1
is automatically inserted in front of it. If only the local
(7-digit) phone number was stored, you have to add the area
code and then the
1
is automatically inserted.
1
From standby, press (MENU) to enter the Main Menu.
2
Scroll to
Call History
and press (OK).
3
Scroll to
Dialed
,
Missed
, or
Received
and press (OK).
4
Scroll until the phone number you want to add a prefix to is displayed.
Then press (OPTION).
5
Press (OK) to select
Prefix
.
6
Scroll to
Edit Number
and press (OK).


