


8
EN
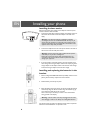
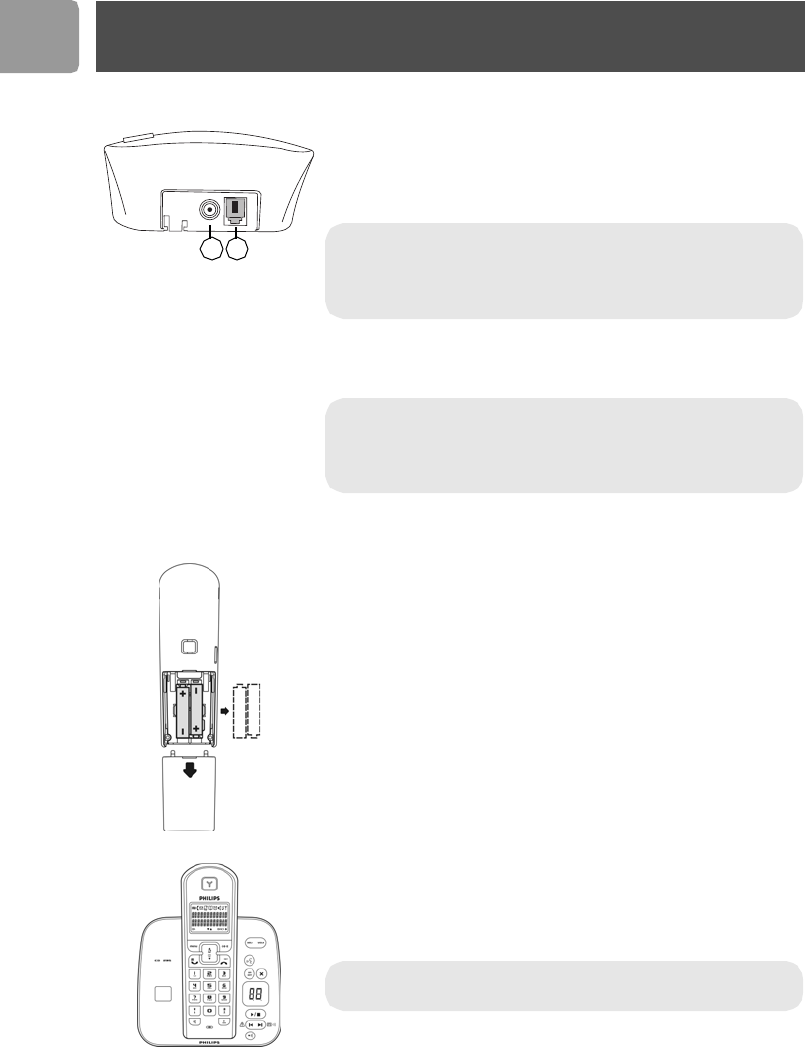
Installing the base station
Place the base station close enough to the telephone and mains power
sockets so that the cables will reach.
1. Connect the output plug of the base adaptor to the adaptor socket on
the back of the base unit and the base adaptor to the wall mains
supply.
2. Connect the telephone line cord to the phone socket on the back of
the base unit and to the wall phone socket.
3. If you have bought a multi-pack product, each extra handset comes
with a charger and a charger adaptor. Connect the output plug of the
charger adaptor to the adaptor socket on the bottom of the charger.
Connect the charger adaptor to the wall mains supply.
Installing and replacing the batteries in the
handset
1. Place 2 rechargeable NiMH AAA batteries (included), with the correct
polarity, into the battery compartment on the handset.
2. Slide the battery door firmly into place.
3. Place the handset on the base unit or the charger and let the batteries
continuously charge for 24 hours before using. The handset may get
warm during the initial charge. This is normal.
On first use it may be necessary to wait for a few minutes before
seeing symbols on the display.
The warranty does not apply to the batteries and any other components
which have a limited lifetime or are exposed to wear.
1 2
Warning ! The electrical network is classified as hazardous
according to criteria in the standard EN 60-950. The only way to
power down this product is to unplug the power supply from the
electrical outlet. Ensure the electrical outlet is located close to the
apparatus and is always easily accessible.
Warning ! Always use the line cable provided with the product
otherwise you may not have a dialling tone.
Please take care that the power supply and telephone line are
connected to the correct sockets as incorrect placement could
damage your equipment.
Warning : The base station must always be plugged into the mains
when charging or when in use. Always use rechargeable batteries.
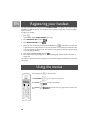
Installing your phone