


79 Settings
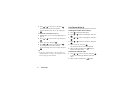
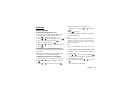
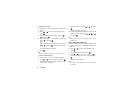
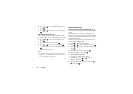
To Set Built-in Images
1.
Perform steps 1 to 3 in “Changing the Language” on
page 76.
2.
Press or to select “Assign Images”, then
press .
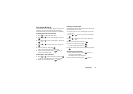
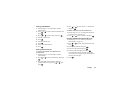
3.
Select the screen to set the image by pressing or
, then press .
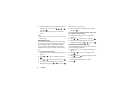
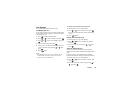
4.
Select “Animation 1” or “Animation 2” by pressing
or , then press .
or
Select “Illustration 1” or “Illustration 2” by pressing
or , then press when you select “Alarm”
in step 3.
The selected image is displayed.
5.
Press .
Tip
• To cancel the image setting, select “Off” in step 4.
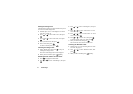
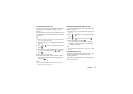
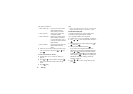
To Set an Original Image
1.
Perform steps 1 to 3 in “To Set Built-in Images”.
2.
Press or to select “Original”, then press .
The file name of the image that is registered in the
Image Gallery is displayed.
3.
Select the image by pressing or , then press
.
The selected image is displayed.
4.
To determine what part of the picture is chosen to be
displayed, select it by pressing , , or ,
then press .
Note
• Some images cannot be used because of their image
and data types.
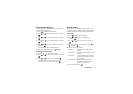
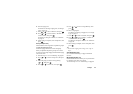
Phone Setting Reset (M 7-1-8)
The phone settings can be reset to their default settings.
1.
Perform steps 1 to 3 in “Changing the Language” on
page 76.
2.
Press or to select “Set to Default”, then
press .
3.
Enter your handset code, then press .
4.
Press or to select “Yes”, then press .
To cancel resetting, select “No” in step 4, then press
.
All phone settings are reset.
Note
• If you enter a wrong handset code in step 3, operation
is cancelled.