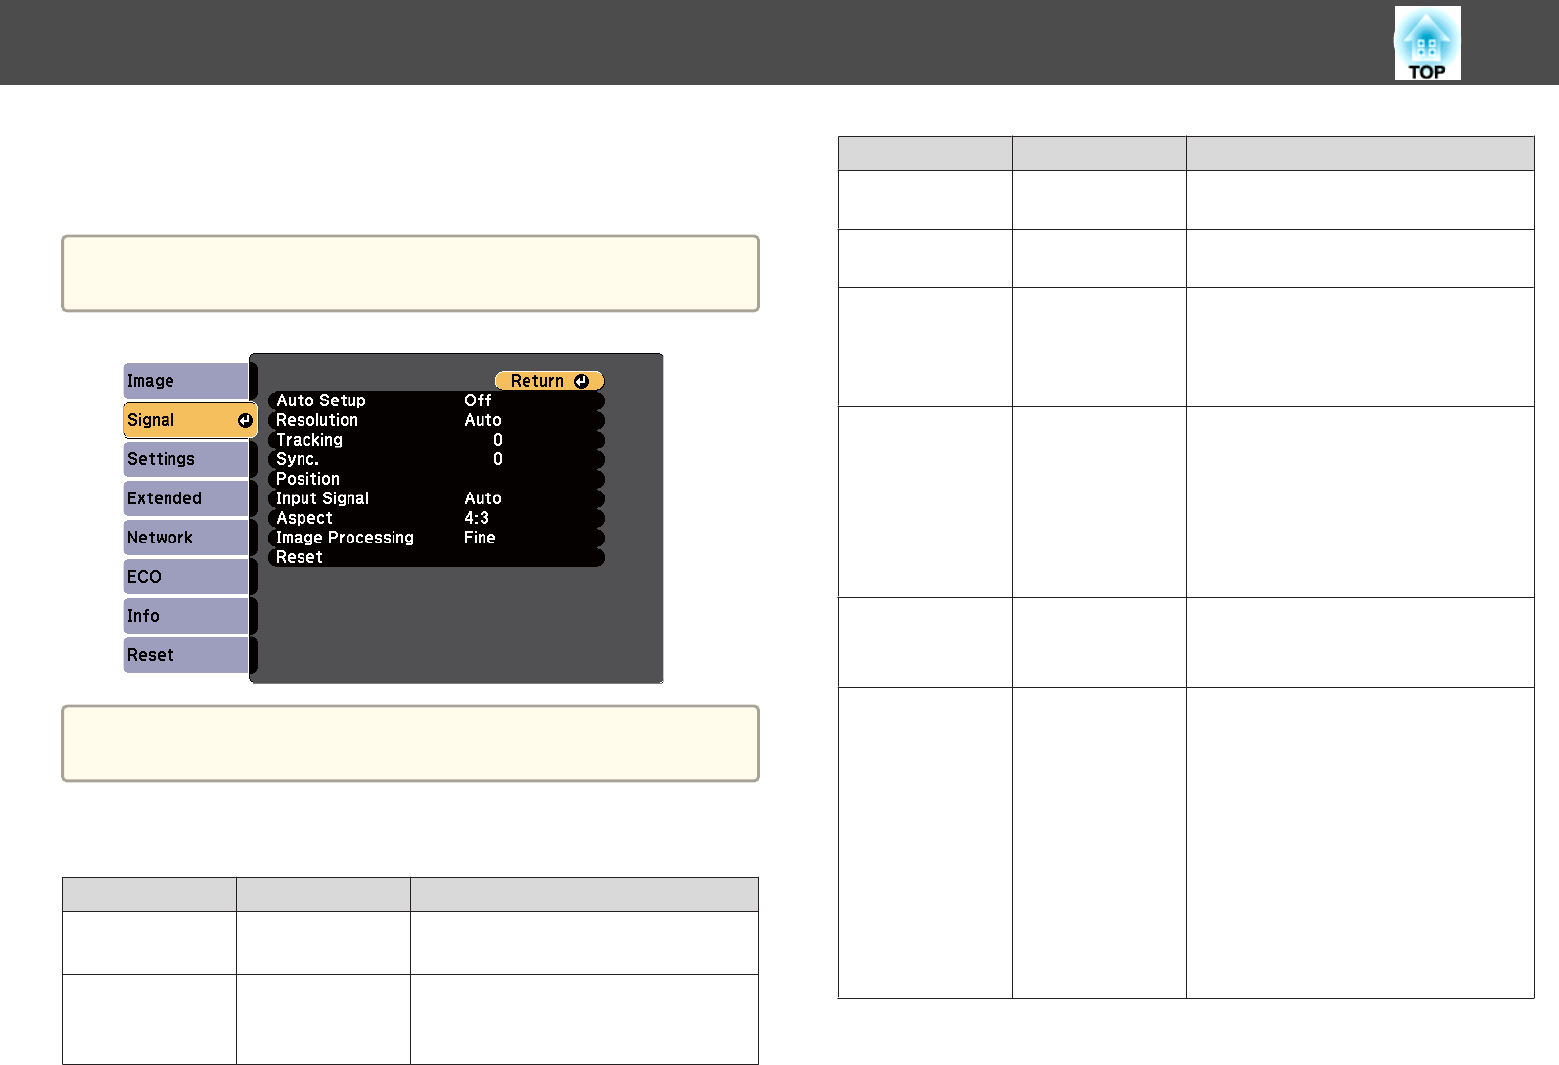
Normally the projector automatically detects and optimizes the input signal
settings. If you need to customize the settings, you can use the Signal
menu. The available settings depend on the currently selected input source.
a
You cannot select settings on the Signal menu when the current input
source is USB Display, USB, LAN, or Screen Mirroring.
a
You can restore the default settings of the Position, Tracking, and
Sync. settings by pressing the [Auto] button on the remote control.
To change settings for an input source, make sure the source is connected
and select that source.
Setting Options Description
Auto Setup On
Off
Automatically optimizes computer im‐
age quality (when On).
Resolution Auto
Normal
Wide
Sets the input signal resolution if not
detected automatically using the Auto
option.
Setting Options Description
Tracking Varying levels
available
Adjusts the signal to eliminate vertical
stripes in computer images.
Sync. Varying levels
available
Adjusts the signal to eliminate fuzzi‐
ness or flickering in computer images.
Position Up
Down
Left
Right
Adjusts the image location on the
screen.
Progressive
(For interlaced
signal (480i/576i/
1080i) input)
Off
Video
Film/Auto
Sets whether or not to convert inter‐
laced-to-progressive signals for certain
video image types.
Off: for fast-moving video images.
Video: for most video images.
Film/Auto: for movies, computer
graphics, and animation.
Noise Reduction Off
NR1
NR2
Reduces flickering in analog images in
two levels.
HDMI Video
Range
Auto
Normal
Expanded
Sets the video range to match the set‐
ting of the device connected to the
HDMI input port.
Auto: detects the video range automat‐
ically.
Normal: normally for images from a
device other than a computer; can also
be selected if the black areas of the
image are too bright.
Expanded: normally for images from a
computer; can also be selected if the
image is too dark.
Input Signal Settings - Signal Menu
135


