| 43
5
Detailed Conguration & Reference
First Step...
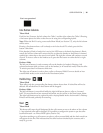
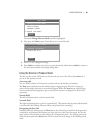
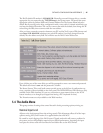
After power-up and initialization, the status screen appears.
When you see this screen, and if
ISDN or POTS lines are connected and functioning correctly, and
♦
the Nx12’s basic configuration settings have been adjusted to the requirements of your ♦
installation,
then the Nx12 is ready for next steps.
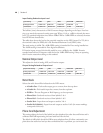
You may confirm that ISDN lines are ready with the ISDN status screens. Press any menu
button twice and use the up and down arrows to scroll through these screens. If all is OK, you
will see the Ready indication for each ISDN B channel.
If you do not see READY as the ISDN status, first cycle power to the Nx12 off and then back
on. If you still do not seen READY on the ISDN status screen, review the information in
Sections 2.4, 2.5, and 3.2 and check both your ISDN settings and set-up information. If the
information there does not help, there is in-depth troubleshooting information in Section 6.
Tip
Users in the USA & Canada should see READY status whenever the system is idle. On certain
ETS-300 ISDN lines the system will go from READY to DEACTIVATED. This is no cause for
alarm.
5.1 Level Metering
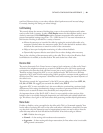
e Nx12 includes four LED bargraph meters. e ballistic (time) characteristic of these meters
changes depending on the Audio menu Input Level setting to match the expected console
meter type. In VU mode, they have the usual 300ms time-constant. In PPM mode, they have a
10ms attack and 2.8sec release characteristic.
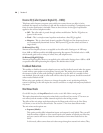
e meters are selectable to various points in the system with Meter Mode in the Audio menu.
Note that the marked meter names are correct only when the Studio 1&2 mode is selected. See
Section 5.4 below.


