d
To switch images, select Swap Screens and press [Enter].
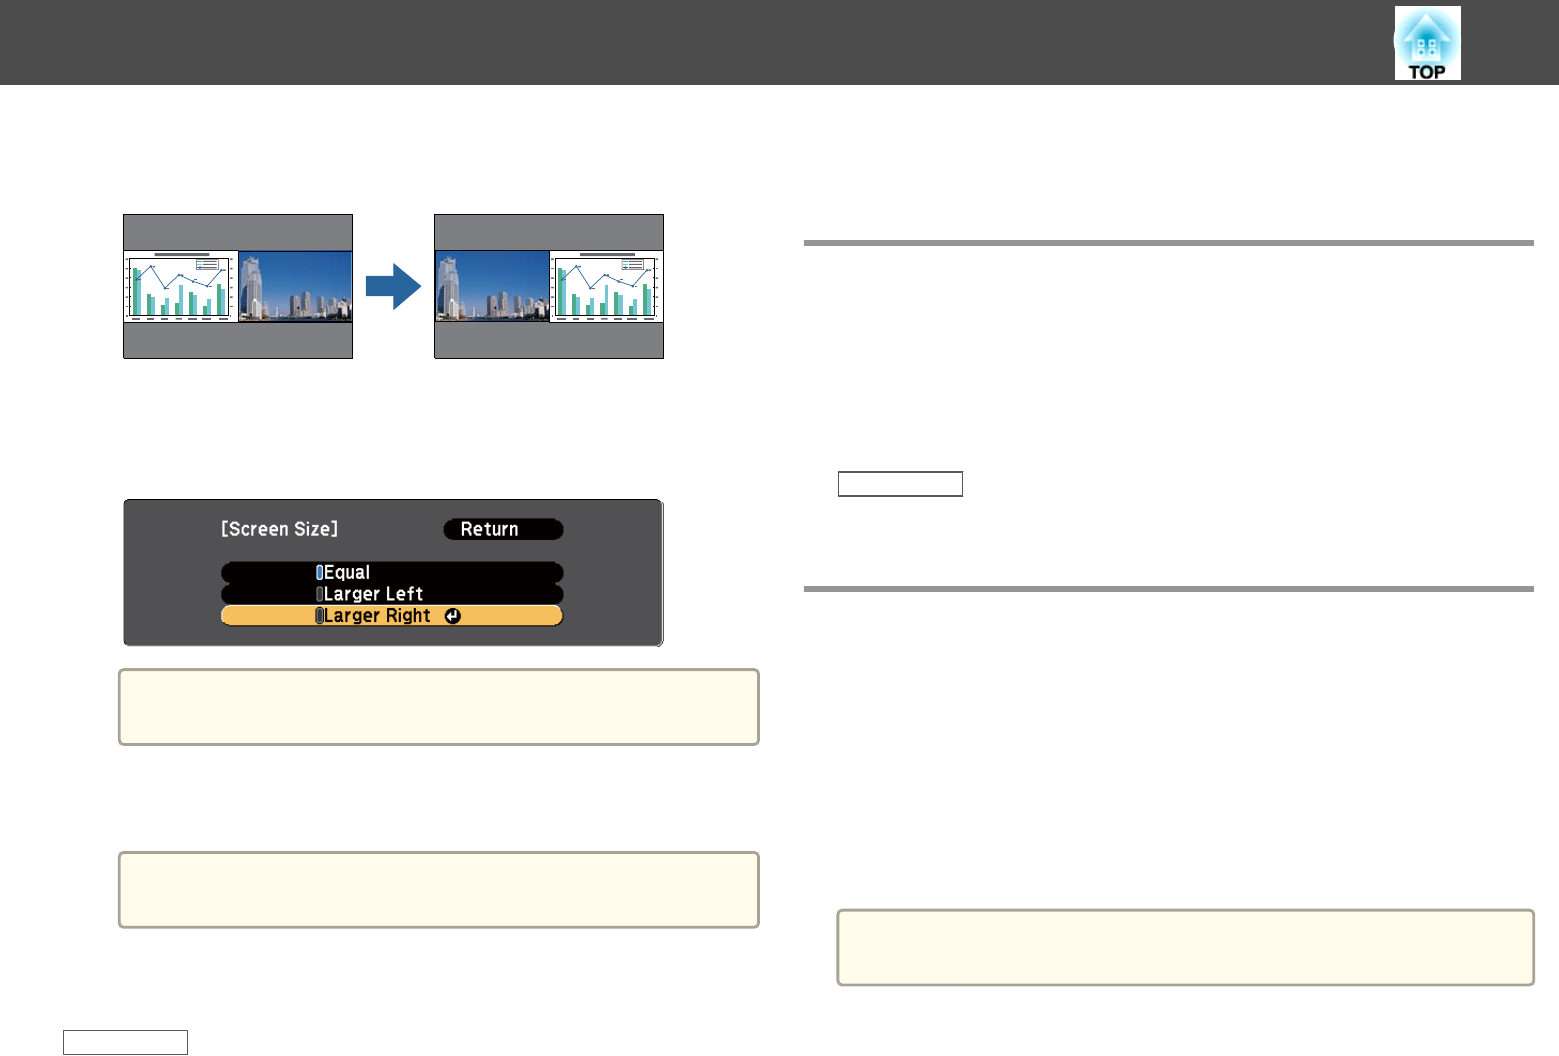
The projected images on the left and right are swapped.
e
To enlarge one image while reducing the other image, select
Screen Size, press [Enter], select a size, press [Enter], and
press [Menu] to exit.
a
Depending on the video input signals, the images may not
appear at the same size even if you select Equal.
f
To select the audio, select Audio Source, press [Enter], select an
audio option, press [Enter], and press [Menu] to exit.
a
Select Auto to hear audio from the largest screen or the left
screen.
g
To exit the split screen feature, press [Split] or [Esc].
Related Links
• "Adjusting Projector Features" p.69
• "Split Screen Projection Input Source Combinations" p.71
• "Split Screen Projection Restrictions" p.71
Split Screen Projection Input Source Combinations
These input source combinations cannot be projected on a split screen.
• Computer1 and Computer2
• HDMI1/MHL, HDMI2 and Screen Mirroring
• USB Display, USB and LAN
• LAN (Wireless) and Screen Mirroring
Related Links
• "Projecting Two Images Simultaneously" p.70
Split Screen Projection Restrictions
Operating restrictions
The following operations cannot be performed during split screen
projection.
• Setting the projector's menu
• E-Zoom
• Switching the aspect mode (the aspect mode is set to Normal)
• Operations using the [User] button on the remote control
• Auto Iris
a
Help can only be displayed when no image signals are being input or
when an error or warning notification is displayed.
Projecting Two Images Simultaneously
71


