Not for Commercial Use - Ericsson Inc.
Some menus/features are operator dependent.
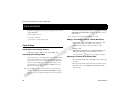
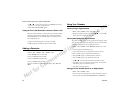
Getting Started 11
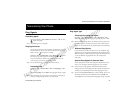
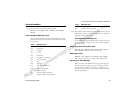
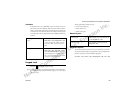
Step 3: Attach the Battery
Note! Remove the battery by removing the back panel as described above.
Raise the battery and slide it out of the hinges – one side at a time.
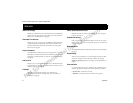
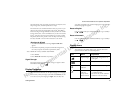
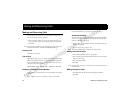
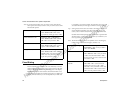
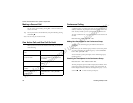
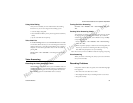
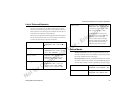
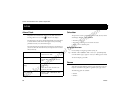
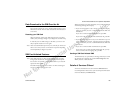
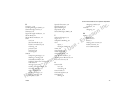
Step 4: Replace Battery Cover
1 Insert the cover, bottom first, on the back of the phone.
2 Turn the screw clockwise to tighten.
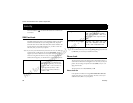
Step 5: Charge the Battery
When to Charge
Note! For detailed information on safely handling your battery, see “Battery
Information” on page 4.
Your phone comes with a Nickel Metal Hydride (NiMH) battery.
The battery is not charged when you buy your phone, but there may
be enough power to switch the phone on. You should fully charge
the battery before use. It is safe to make and receive calls while your
phone is charging. You should not need to remove your battery after
it is installed. Your battery can be charged whenever you wish
without affecting its performance. You can also charge the battery
when the phone is off.
The battery meter icon on your standby screen indicates how much
remaining strength your battery has, .
Tip! If you have an Ericsson-approved battery, you can check the remaining
talk and standby times in the S
TATUS menu using the side volume
keys when in standby mode. The total remaining standby and talk
time depends on the type of battery you use and your position in the
network. Please note that these times are approximate and you may
have 20% less time than is shown in the display.
Note! The phone turns itself off when the battery can no longer power it
satisfactorily.
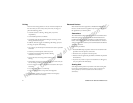
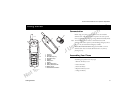
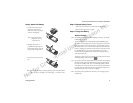
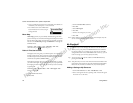
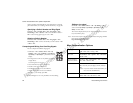
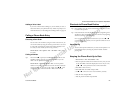
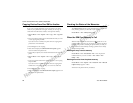
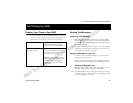
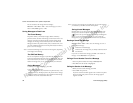
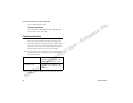
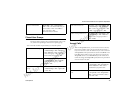
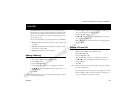
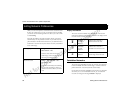
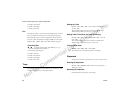
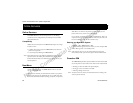
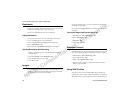
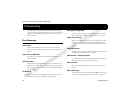
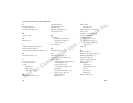
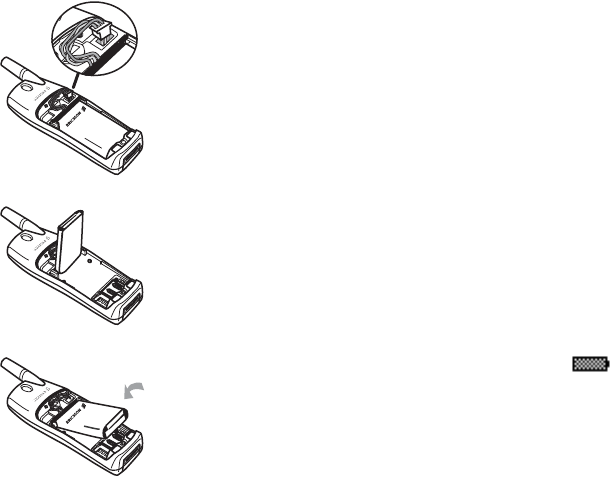
1 Locate the connector at the
end of the blue, red, and
black wires. Insert the plug as
shown in the diagram.
Note! The cable will only
properly fit one way
– do not force it.
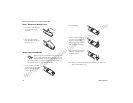
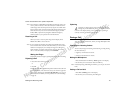
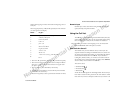
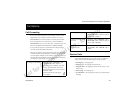
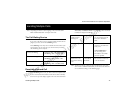
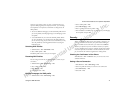
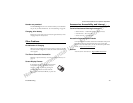
2 Holding the battery at a
perpendicular angle, slip the
left side of the battery into the
hinge. Snap the right side in.
3 Lower the battery until it lays
flat.