Not for Commercial Use - Ericsson Inc.
Some menus/features are operator dependent.
22 Personalizing Your Phone
mark by pressing and holding
#. For more information on entering
phone book entries, see “Creating a Phone Book Entry” on page 26.
Specifying a Caller’s Number and Ring Signal
SETTINGS > YES >
Sounds & Alerts
> YES >
Ring Signals
> YES >
Personal Rings
> YES >
Add new?
> YES
>
enter the caller’s number >
YES > select the ring signal type you want > YES.
Deleting a Caller’s Number
SETTINGS > YES >
Sounds & Alerts
> YES >
Ring Signals
> YES >
Personal Rings
> YES > scroll to the number you wish to delete > YES
>
Delete
> YES.
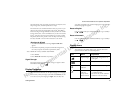
Composing and Editing Your Own Ring Signals
You can compose four different ring signals.
1 S
ETTINGS > YES >
Sounds & Alerts >
YES
>My
Melodies
> YES > Select
My Melody 1, My Melody 2,
My Melody 3
or
My Melody 4
>press CLR to clear the
display.
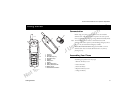
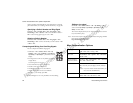
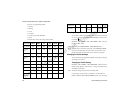
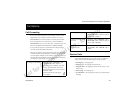
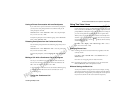
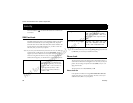
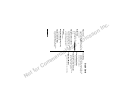
2 The keypad now works as a keyboard (see figure in
margin above).
Use the keypad to enter notes:
• Press and hold a key to enter a long note.
• Press
0 to raise the note one octave.
• Press
# once to raise the note one halftone.
• Press
# twice to lower the note one halftone.
3 To listen to your melody, press
YES.
4 Press
YES again to save it or press NO to continue editing.
Editing a ring signal
SETTINGS > YES >
Sounds & Alerts
> YES >
My Melodies
> YES >
scroll to either
My Melody 1, My Melody 2, My Melody 3
or
My
Melody 4
> YES >
Edit
.
The notes are displayed and you can edit the melody notes with the
keys. Press
YES to play it.
Note! You can also compose your own and download existing ring melodies
from the Ericsson Mobile Internet:
http://mobileinternet.ericsson.com
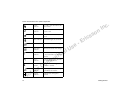
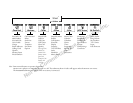
More Personalization Options
B
Alarm Signal SETTINGS > YES >
Sounds & Alerts
> YES >
Alarm
Signal
> YES > select a setting > YES.
Ask to Save P
HONE BOOK > YES >
Options
> YES >
Ask to Save
>
On
/Off > YES.
Network Initiated
Time Zone (NITZ)
SETTINGS > YES >
Time and Date
> YES >
Auto Time
Zone
> YES >
On
/Off
>
YES.
Date S
ETTINGS > YES >
Time and Date
> YES >
Set Date
>
YES > enter the year (two digits), month, and day >
YES.
Note! If you have chosen another date format you
must enter the date differently.
Date Format S
ETTINGS > YES >
Time and Date
> YES >
Date
Format
> YES >
s
elect date format > YES.