Chapter 3 — Configuring the Computer
751G Color Mobile Computer User’s Manual 41
Changing Comm Settings
Tap Change Comm Settings to configure the settings for the COM1 port.
Current settings are restored after a warm-boot is performed, but are lost
after a cold-boot is performed. When these settings are not changed, the
OK button is disabled (grayed out). When changes are made, tap OK after
it is enabled to accept these changes.
Improving the Performance of the Area Imager
If you have problems scanning a bar code with the 2D imager, try doing
these tips to improve the performance of your imager:
• Keep your hand as steady as possible while scanning a label.
• Position the imager as close to the bar code as possible while still being
able to capture the entire bar code.
• Enable only the bar codes that you need to use every day.
Baud Rate 1200, 2400, 4800, 9600, 19200, 38400, 57600, 115200
Data Bits 7 or 8
Parity None, Odd, Even, Mark, Space
Stop Bits 1 or 2
Flow Control None or Hardware
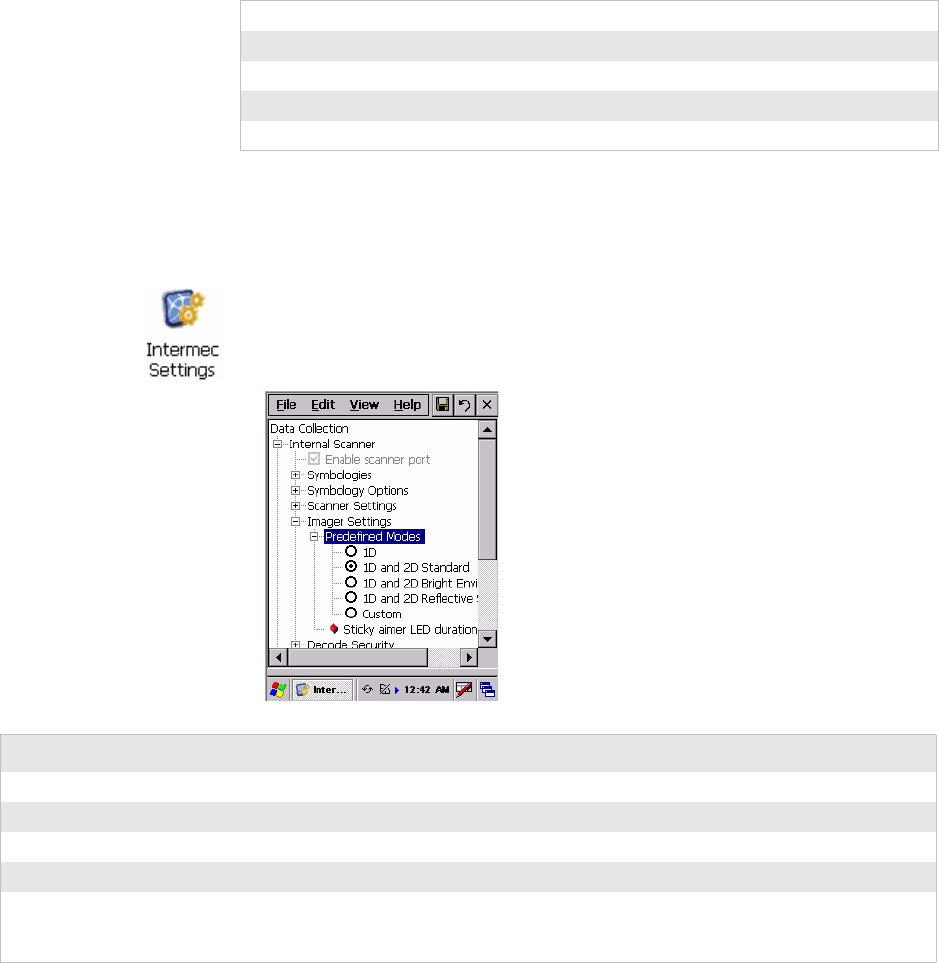
•Tap Start > Settings > Control Panel, then double-tap the Intermec
Settings icon to access the applet. Tap (+) to expand Data Collection >
Internal Scanner > Imager Settings > Predefined Modes, then select
one of the following:
Select this option: If you are scanning:
1D only 1D labels
1D and 2D Standard all other cases
1D and 2D Bright Environment in high ambient light (like outdoors in sunshine)
1D and 2D Reflective Surface glossy labels
Select Custom to access all standard imager settings such as “Lighting Goal” or “Lighting Mode.” More information
about these settings, commands, and parameters are found in the Intermec Computer Command Reference Manual
available from the Intermec web site at www.intermec.com.


