


Nokia Content Copier
[ 7 ]
4
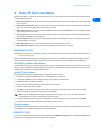
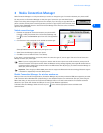
Copy data from the source phone
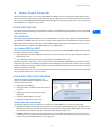
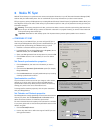
When you select Copy data from a phone to a PC, Content Copier transfers
all compatible data types (contacts list, calendar, to-do, caller groups, etc.)
from the phone containing the data you want to back up or transfer. This
phone is called the “source phone” and can be one of the phones listed on
the previous page, or another Nokia 3585i phone.
• If you are copying phone data and want to save it on your PC, Nokia
Content Copier guides you through the process of saving the
information to your PC hard drive.
• If you are copying data from a different source to your Nokia phone,
the data must first be saved to your PC. Once you have connected your
Nokia 3585i phone (target phone) using the cable, see “Copy
information to the target phone” for further instructions.
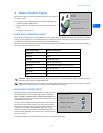
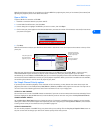
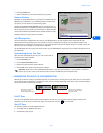
Save the source phone data
Once the source phone data is read, save the information to your PC hard
drive.
1 Click the Save Data button.
2 Navigate to the location on your hard drive where you want the
information stored.
Nokia Content Copier automatically names the files for you, based on
the type of data that is read from the source phone.
3 Click Next to complete this process.
4 Click New Action to return to the beginning of the Content Copier wizard (to perform a different task), or click Finish to close
Content Copier.
Copy information to the target phone
Before you can copy information to the target phone, you need to load the
information into PC memory. You should have already saved the source
phone data to your PC using the Copy data from a phone to a PC option.
1 Launch Nokia Content Copier, then click Next.
2 Click Copy data from a PC to a phone, then click Next.
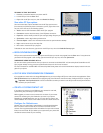
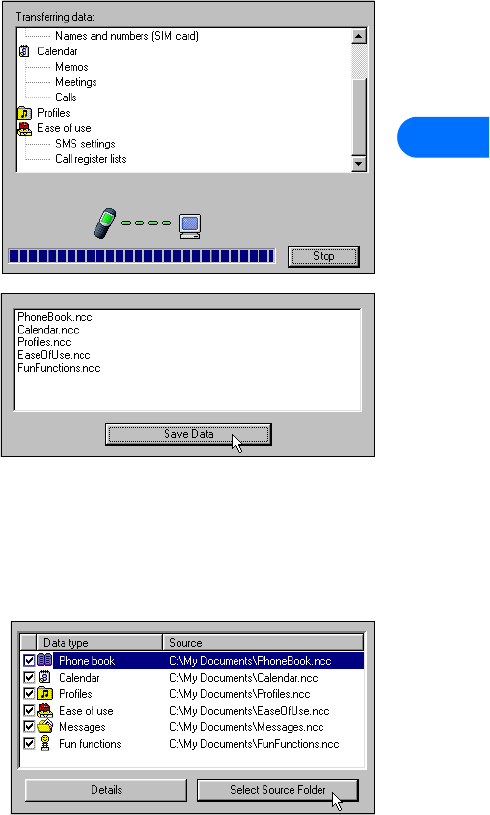
3 Click the Select Source Folder button, then locate the directory
containing the information you want to use.
4 Click Next to begin copying data from your PC to your phone.
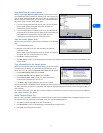
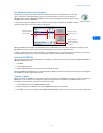
Once the source phone information has been loaded from your PC hard drive, you are asked to determine the types of information
you want copied into your phone. The compatible data types are displayed along with the ability to select the types of data you
wish to transfer.
Use the check boxes next to the data types to select or deselect the information you want to copy to your phone. Click Next to
begin copying the data to your phone.
Nokia Content Copier log
When you have successfully completed one of the Nokia Content Copier tasks, the Finish screen is displayed along with a log of
the tasks that were just performed. At the Finish screen, you have the following options:
• Click Save to save the log (.log) file to your PC hard drive.
• Click New Action to return to the beginning of the Nokia Content Copier wizard.
• Click Finish to exit Nokia Content Copier.