ONEm User Guide - R1.0.2 - October 20, 2010 10
• Battery life will vary depending on operating temperature, signal strength, phone feature settings,
network setup, and system use (calls, messaging, etc.).
• A shorter screen lock timeout setting will also improve battery life because the screen will go black
sooner.
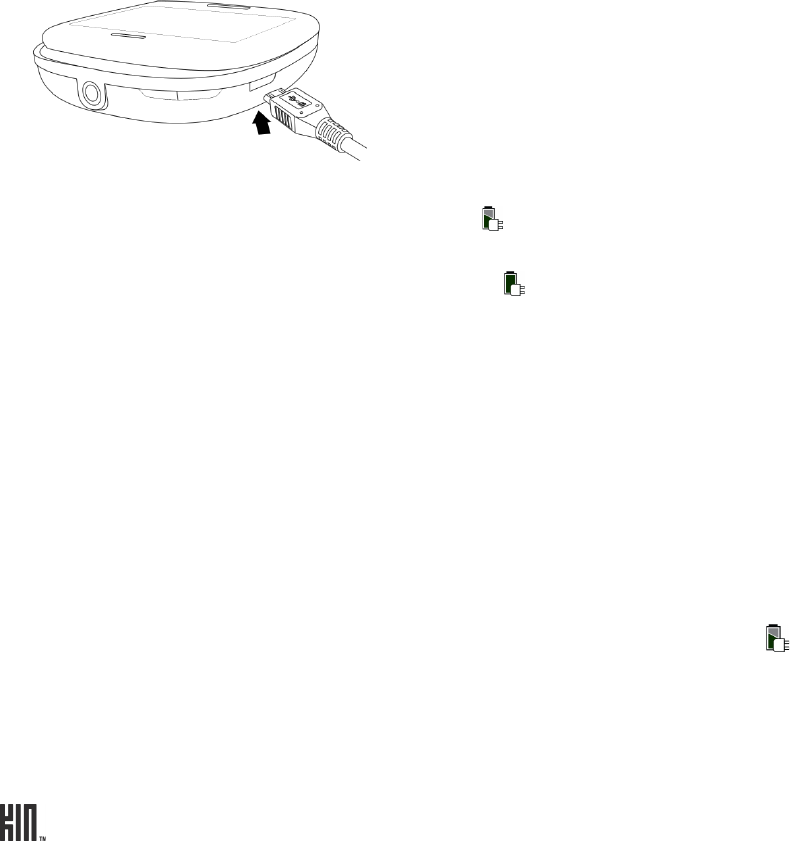
Charge using the USB power adapter
When you first receive your phone it should be charged, but it’s advisable to bring it to a full charge.
The USB power adapter that came in the box with your phone lets you plug your phone into a power
outlet to charge the battery. To charge your phone, follow these steps:
1 Connect the USB power adapter to your phone’s USB/power port.
2 Plug the other end of the USB power adapter to a wall power outlet. While your phone is charging,
you’ll see the charging icon over the battery icon in the lower-right of the screen and in the
Dashboard. (Read more in “Dashboard” on page 22.)
3 When your phone is fully charged, the battery icon will be filled with color.
Charge using your computer’s USB port
Note: Charging your phone via USB (whether from a computer or car-charger) may not provide
enough power to adequately charge your phone. A car charger must be rated at 500 mA to charge
your phone properly.
1 Connect the USB cable to your phone’s USB/power port. (Your USB cable is also used to connect
your phone to the USB power adapter.)
2 Connect the other end of the adapter to your computer’s USB port.
Note: The first time you attach your phone to your PC via USB, you’ll be prompted to install
drivers.
3 While your phone is charging, you’ll see the charging icon over the battery icon in the lower-
right of the screen and in the Dashboard. (Read more in “Dashboard” on page 22.)
Read about importing media to your phone via USB in:
• “Copy photos and videos to/from your computer” on page 72.


