58-
EDIT SIGNATURE
This allows you to configure your mails so that text is added (once each time mail is sent) at the
end of your message.
REPLY MARKER
You can add text or symbols automatically to your message when you reply to mail received.
AUTO PLAY
When contained in a mail or MMS, you can choose whether or not a melody should play or an
image should be shown on opening mail.
AUTO RECEPTION
Your mails and/or MMS can automatically be received on your mobile. If this feature is not ac-
tivated, go to the server and check manually if you have received any mails or MMS (see check
new mail, page 57 ).
RECEIVE ATTACHMENT
When contained in a mail, you can choose whether or not an image and/or a MIDI file should
be downloaded to your mobile.
ATTACHMENT DATA
When contained in a message, you can choose whether or not, a melody file is recognised as
a valid file and should be played.
CHECKING THE SETTINGS
You can check the status of all your mail settings via this menu.
BACK
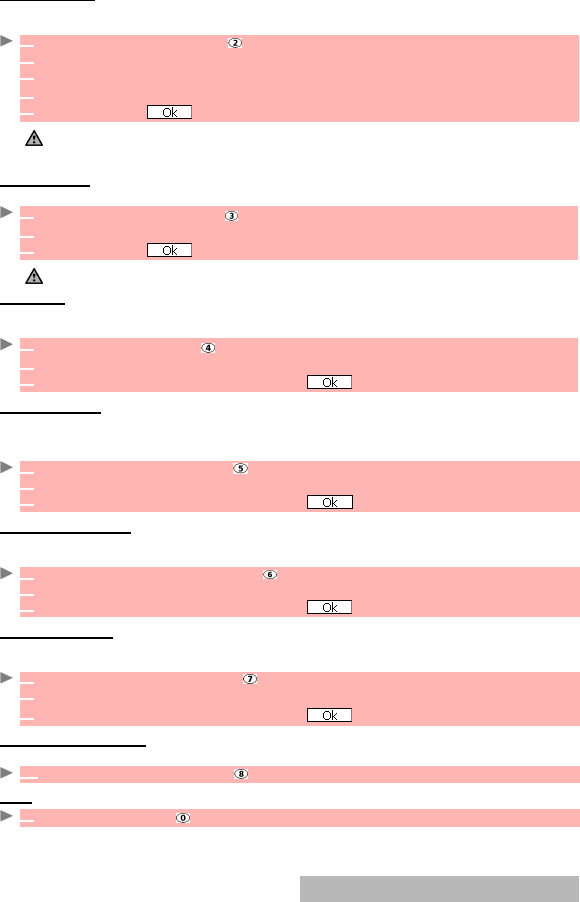
1 Select Edit signature or press .
2 Select OK if you want to select Auto attach (to tick the corresponding box).
3
Scroll down to the signature field (until the box is highlighted) and select OK.
4 Enter your signature text and select OK.
5
Scroll down until is highlighted and select OK to save the signature.
1. The signature is automatically added to all your mails if you tick Auto attach.
If you do not tick Auto attach, the header is stored in the mobile (see composing an e-mail, page 54).
2. The signature is not available on MMS edition mode.
1
Select Reply marker or press .
2 Press OK and enter the reply marker text or symbol(s). Press OK.
3
Scroll down until is highlighted and select OK to save the reply marker.
The > symbol is the default reply marker. It is automatically added to your reply mails.
1
Select Auto play or press .
1 Select iMail and/or MMS and press OK.
2
Scroll down as many times as necessary until is highlighted and press OK to validate.
1 Select Auto reception or press .
2 Select Yes and/or No.
3
Scroll down as many times as necessary until is highlighted and press OK to validate.
1 Select Receive attachment or press .
2 Select MIDI and/or image.
3
Scroll down as many times as necessary until is highlighted and press OK to validate.
1 Select Attachment data or press .
2
Select Valid or Invalid.
3
Scroll down as many times as necessary until is highlighted and press OK to validate.
1 Select Check settings or press to view the contents of each parameter.
1
Select Back or press to go back to the Mail main menu.
