General Operation 51
2.6.2 Adding a Label
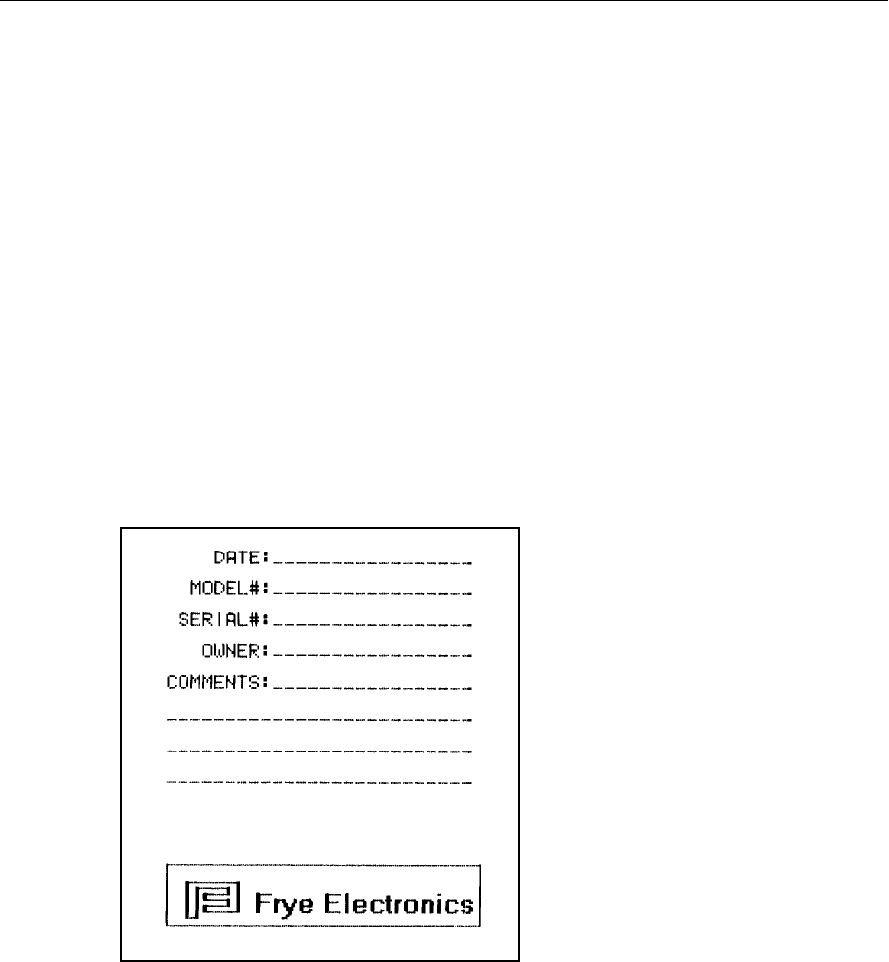
A label with your printout allows you to record useful information about the client and
hearing aid to go along with the test results. See Figure 2.6.2. To view the label set on
your analyzer, press [MENU] from the Opening screen to enter the Default Settings
Menu, and then press [BACK]. This will display the label that will be printed on your
analyzer whenever the labeled is turned on.
If you are in the middle of a test, and you want to add a label for a printout in the local
screen, without changing the default setting:
1. Press [MENU] from any test screen.
2. Press [NEXT] to enter the Advanced Menu.
3. Select PRINT LABEL with the
[∧] keys.
4. Select YES with the [>] key.
5. Press [EXIT] to return to the test screen. Any printout in the current screen will now
include a label until you turn off the analyzer.
Figure 2.6.2—Label with printed results
If you want to include a label on all printouts by default:
1. Press [MENU] from the Opening Screen to open the Default Settings Menu.
2. Select PRINT LABEL using the [
∧] key.
3. Select YES with the [>] key.
4. Press [F5] to save the current menu setup.
5. Press [EXIT] to return to the Opening Screen.


