


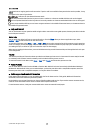

5. To replace the back cover, slide the cover in the direction of the arrow.
Instead of a SIM card, you may also have a USIM card, which is an enhanced version of the SIM card and is supported by UMTS
(network service) mobile phones. Contact your service provider for more information.
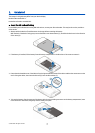
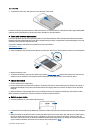
Insert and remove a memory card
Use only compatible microSD cards approved by Nokia for use with this device. Nokia uses approved industry standards for
memory cards, but some brands may not be fully compatible with this device. Incompatible cards may damage the card and
the device and corrupt data stored on the card.
If you have a memory card, follow the instructions to insert and remove it.
See "Memory," p. 17.
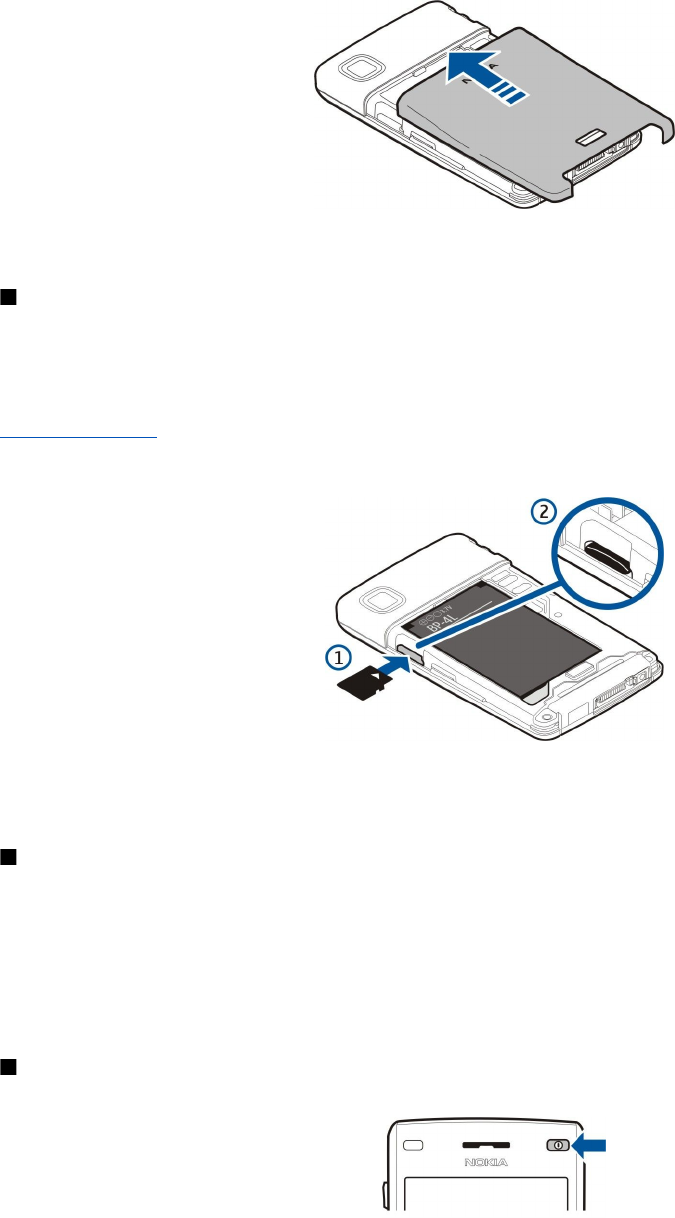
1. Remove the battery cover.
2. Insert the memory card (1) fully into the memory card slot (2) to lock in place. Ensure that the contact area is facing down.
3. Replace the battery cover.
4. To remove the memory card, press the power key and select Remove mem. card. Remove the battery cover and push the
memory card into the device to activate the release mechanism. Then, gently pull the card out of your device.
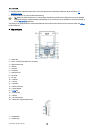
Charge the battery
1. Connect the charger to a wall outlet.
2. Connect the charger to the bottom of the device. The battery indicator bar starts scrolling on the display. If the battery is
completely discharged, it may take a few minutes before the charging indicator is shown. The device can be used while
charging.
3. When the battery is fully charged, the bar stops scrolling. Disconnect the charger from the device, then from the outlet.
When the battery charge level is too low for operation, the device switches itself off.
Switch on your device
1. To switch the device on, press and hold the power key.
2. If the device asks for a PIN code (or UPIN code, if you have a USIM card), lock code or security code, enter the code, and select
OK.
3. When you switch on the device for the first time, your device asks for the current time, date, and the city in which you are
located. To switch the time from a.m. to p.m., scroll down. To find your city, enter the first letters of the city name. It is
important to select the correct city, because scheduled calendar entries may change if you change the city later and the new
city is located on a different time zone. You can change these settings later in Clock.
G e t s t a r t e d
© 2007 Nokia. All rights reserved. 9