


If you need any further advice, please call our Technical Helpline on 020 8758 0338 (Mon-Fri)
Setup Wizard
00:00
Start setup wizard now?
NoYes
12
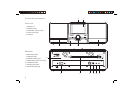
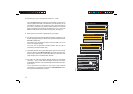
Confi guration
Confi guration
Connecting your internet radio to your computer network
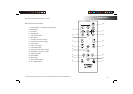
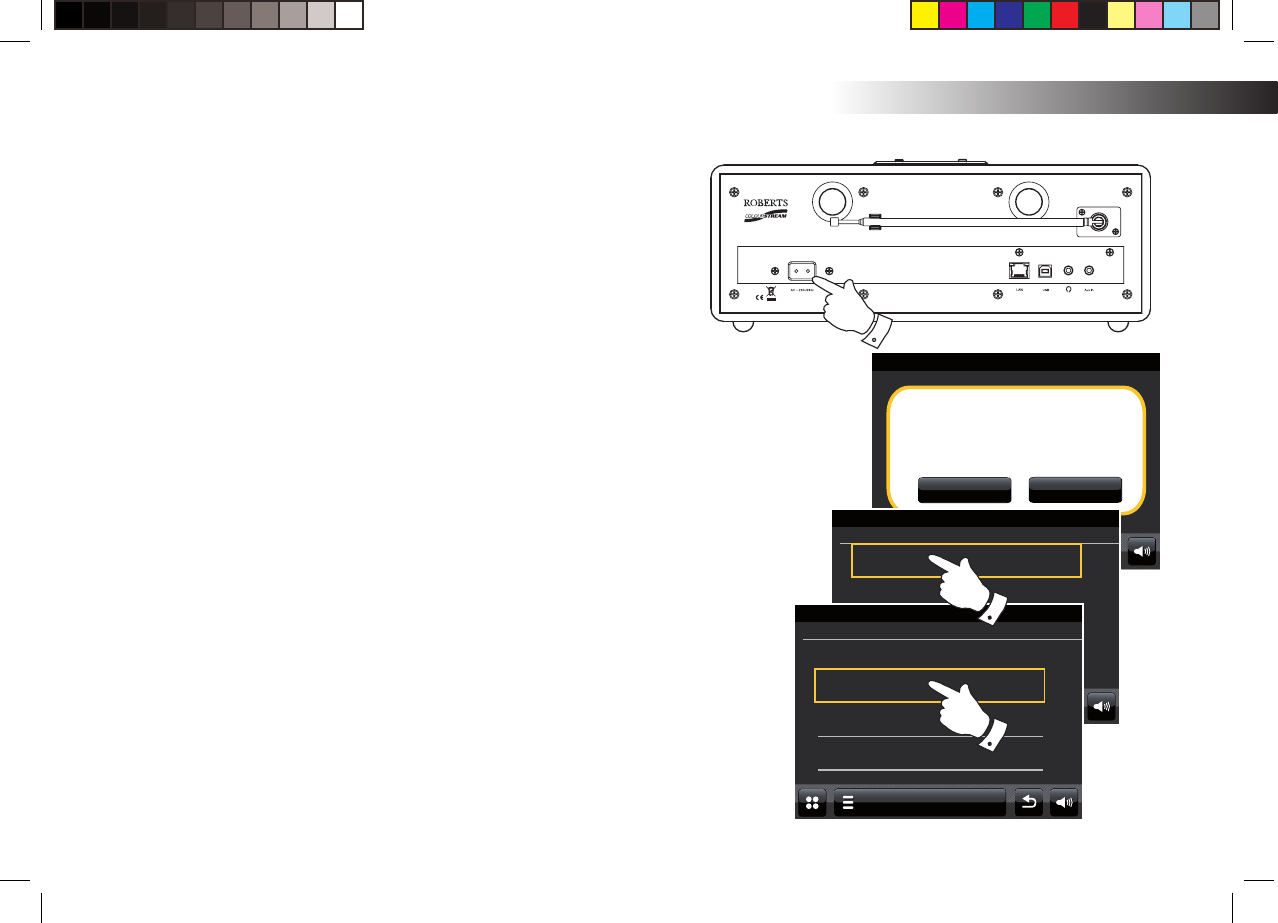
1. Place your internet radio on a fl at surface.
2. If you wish to use a wired network connection, plug the Ethernet cable into the
RJ-45 socket (marked LAN) at the back of the radio.
3. Plug the mains lead into the mains socket located at the back of your radio
ensuring that the plug is pushed fully into the socket.
4. Plug the other end of the mains lead into a wall socket and switch on the wall
socket.
IMPORTANT: The mains plug is used as the means of connecting the radio to
the mains supply. The mains socket used for the radio must remain accessible
during normal use. In order to disconnect the radio from the mains, the mains
plug should be removed from the mains socket outlet completely.
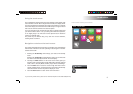
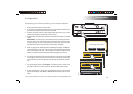
5. When you apply power, the display on the radio will light up and say: 'ROBERTS'.
The fi rst time that you use your radio (or after a Factory Reset) the display will
show 'Start setup wizard now' . Touch Yes on the screen to start the setup
wizard. You will then need to select the desired language (go to step 7).
6. You are recommended to run the setup wizard, but if you wish not to, touch No
on the display. The screen will ask if you wish to run the setup wizard again
at the next start up. The radio will then enter standby mode with the clock not
set.
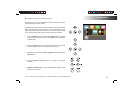
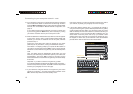
7. For the language option, select English. You will then have a choice to set
the clock to use the 12 or 24 hour format. Touch the desired hour format.
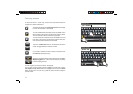
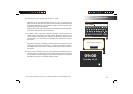
8. A menu allowing you to specify the synchronisation source for the clock will
appear on the display. The default of Internet will be the best option for most
users.
Setup Wizard
00:00
24h
12h
Time format
Setup Wizard
00:00
None
Internet
DAB
FM
Select Time Sync Source
3