satellite connection is found and the indicator
changes to
within that time, all the images
captured and video clips recorded during that time
are tagged based on the received GPS positioning
information.
●
— Location information is available. Location
information is added to the file details.
Files with location information are indicated with
in the Photos application.
Panorama mode
Select Menu > Applications > Camera.
Select panorama mode
from the toolbar.
1. To capture the first image in the panorama, press
the capture key.
2. Slowly turn the device left or right as shown by the
arrows.
A panorama preview is displayed and the camera
captures the image as you turn. The green arrow
indicates that you can slowly proceed to turn. The
red pause mark indicates that you should stop
moving until the green arrow is displayed again.
You can predict when the next key frame is captured
when the red rectangle moves to the center of the
preview area.
3. To complete the capture, select Stop. The
panoramic capture stops automatically when the
maximum image width has been reached. Note that
it may take some time for the device to process the
captured image.
After capturing an image
After you capture an image, select from the following
options in the active toolbar (available only if Show
captured image is enabled in the still image camera
settings):
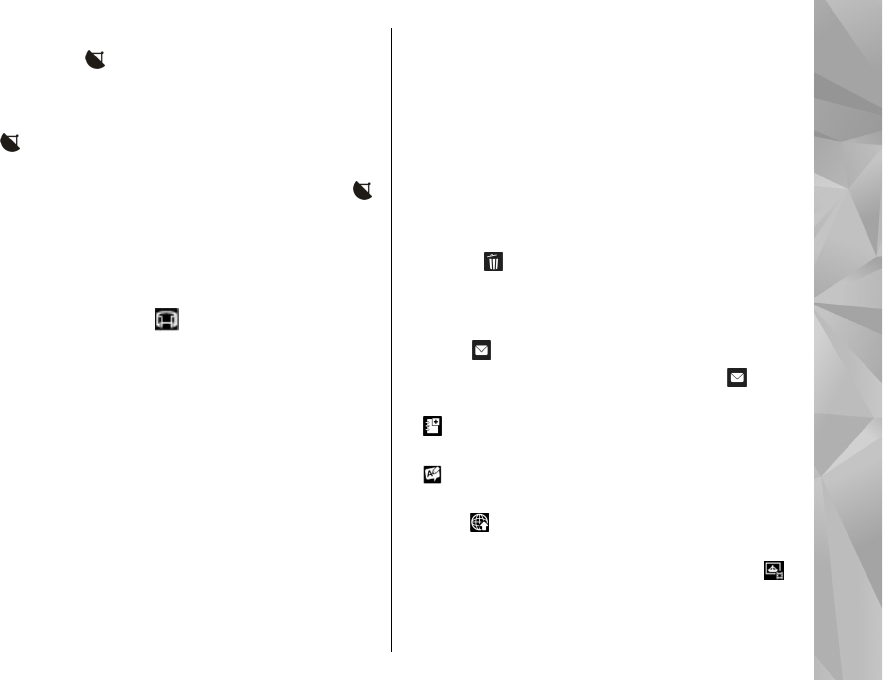
● If you do not want to keep the image, select
Delete (
).
● To send the video clip using a multimedia message,
e-mail, or other connection methods, such as
Bluetooth connectivity, press the call key, or select
Send (
).
If you are in a call, select Send to caller (
).
● To add the image to an album, select Add to album
.
● To view information about the image, select Details
.
● To send the image to a compatible online album,
select
(available only if you have set up an
account for an album).
● To zoom in an image after capturing it, select
to
open the image, and use the zoom keys of your
device.
33
Camera


