84 Camera and Multimedia
Option Allows you to
Prefix Set a prefix to image or video filenames.
When Default is selected as the prefix, the filename of each new captured file is set to “IMAGE” or
“VIDEO” followed by a sequential number, for example: IMAGE_001.jpg. You may also choose to
prefix filenames using either the current Date or Date & Time.
Note: If you set the Camera to save captured photos to a storage card, the prefix cannot be
selected. Captured photos will be named using the DCIM (Digital Camera Images) naming
standard.
Counter Select Reset to reset the naming counter to 1.
Flicker Adjustment When taking indoor shots, flicker on the camera screen may be caused by interference from
fluorescent lighting. To reduce flicker, change the flicker adjustment setting to the proper
frequency (50Hz or 60Hz) of the country where your phone is being used.
Template Folder
(Picture Theme mode
only)
By default, templates are stored in the \My Documents\Templates folder on the phone’s main
memory. If you transferred some templates to a storage card (using File Explorer), set this option
to Main + Card to specify that templates are located in both the main memory and the storage
card.
Show Reminder
(Contacts Picture mode
only)
Select On to be prompted to set the picture to a contact after taking a contact picture. Select Off
to disable the prompt.
About Display the Camera’s firmware information.
10.2 Album
View your images and videos that you captured using the Camera program in Album. Album offers a host of
features that let you rotate images, view your images as a slide show, use images as contact pictures, and more.
Note Album can only display files using the JPEG, MPEG4 or H.263 file formats.
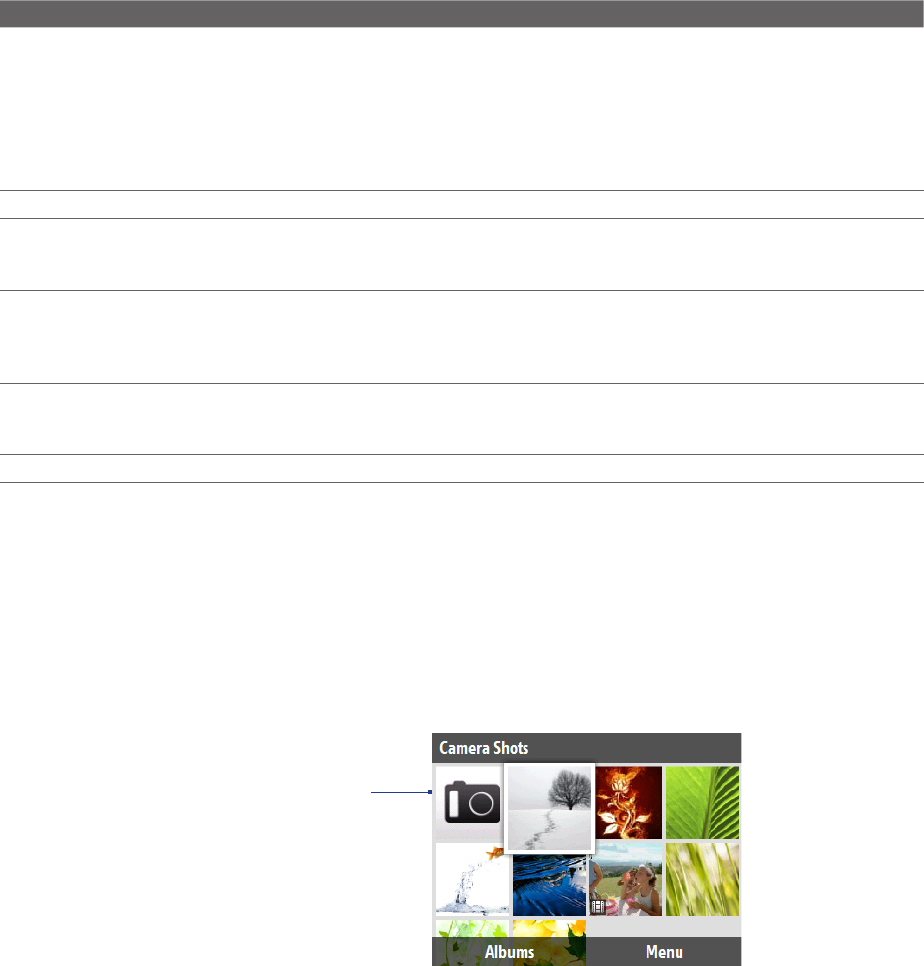
To open Album
Click Start > Album, or click Album while in the Camera screen.
Click to go to the
Camera program
To view an image in full screen
On the main Album screen, use the NAVIGATION CONTROL to select the image you want to view and then
press ENTER. While viewing the image, click Zoom In to zoom in on the image.
Note If you do not see Zoom In on the screen, press ENTER to show the menu bar at the bottom of the screen.
While zoomed in, use the NAVIGATION CONTROL to pan the image. Click Zoom Out to zoom out of the image.
To go to the next image
Use the NAVIGATION CONTROL to go to the next or previous image.
Note If you are zoomed in on an image, you need to zoom out first before you can go to the next or previous image.
To view the images as a slide show
On the Album screen, select the image where you want to start the slideshow from and then click Menu >
Slideshow. The slideshow automatically starts playing back from the selected image.


