R290 User’s Guide
14
Making and Receiving Calls
This chapter describes how to make and receive calls, in both Globalstar
and GSM mode, how to make international and emergency calls, how to
show or hide your phone number when calling, and how to handle two
calls simultaneously.
Making a Call
1. Enter the area code and phone number. The phone number is shown
in the display. If there are more than 12 digits entered, the number
will wrap around to the line above. If more than 24 digits, the 1st
digit onwards will be represented by a diamond symbol at the left of
the screen. To erase a digit, press CLR. To erase the entire phone
number, press and hold down CLR for a couple of seconds.
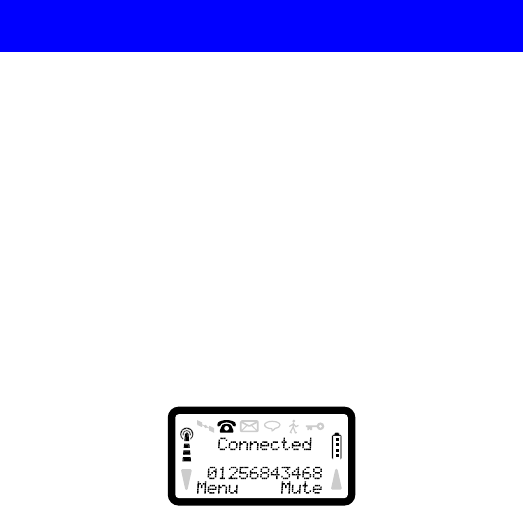
2. Press YES to make the call. The display shows ‘Calling’, followed
by ‘Connected’ and the phone icon is lit.
Holding the Phone
Put the earpiece to your ear for optimum speech and reception quality. If
the phone is operating in satellite mode, the satellite antenna must be
deployed in the correct position for making a call, see “Deploying the
Antenna” on page 7. Ensure the satellite antenna is kept vertical when in
use. It is adjustable for left or right handed operation, and has a third
position for use on a flat surface outdoors. This position is for use with a
hands free kit or mobile office.
It is not necessary to deploy the antenna when making a GSM call. The
GSM antenna is located inside the phone.
Ending a Call
Press NO to end a call.
Making an International Call
1. Press and hold the zero key until the international + prefix is
displayed.
2. Enter the country code, area code (without any leading zero) and the
phone number.
3. Press YES to make the call.
Making an Emergency Call
Enter 112 (The international emergency number) and press YES.
The 112 emergency number can be used in most countries with or without
a SIM Card, provided a cellular network is within range. In Globalstar
mode a SIM must be fitted.
Redial Function
If the call connection fails, press SOFT RIGHT to redial the number.
Press NO to end the call. See “To Redial the Last Dialled Number” on
page 18 and “Busy Numbers” on page 30 for more details on this option.


