


R290 User’s Guide
59
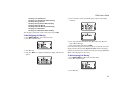
To Enter the Validity Period
You can enter a period of time which tells the service centre how long to
retain the message and keep trying to send it when the destination cannot
be reached.
To help you when you first use this function, we have preset the validity
period to 2 days.
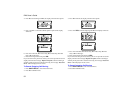
To Select the Message Type
You can choose how the message will be transmitted from the service
centre to the final destination. To help you when you first use this
function the default is normal GSM text.
1. Press SOFT LEFT, 3 to enter Messages menu.
2. Press 2 to show the Originate menu.
3. Press 6 to display the Defaults Menu.
4. Press 4 to display Type.
5. Use the <* and #> keys to scroll through the message types stored in
memory (Text, Fax, Voice, ERMES, Paging and E-mail).
6. Press YES to select the one you wish to use.
To Review Your Newly Created Message
The SOFT keys now allow you to scroll through the message (including
the parameter information) if you want to check it.
You can now save the message, or send it, or modify it as required.
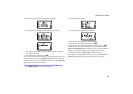
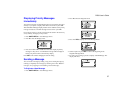
To Create a Message from an Existing Message
1. Press SOFT LEFT, 3 to enter Messages menu.
2. Press 2 to show the Originate menu.
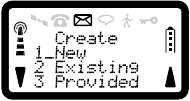
3. Press 1 or YES to display the Create Message Menu.
4. Press 2 to display the first three lines of an old message that you
originated and stored in memory. Use the <* and #> keys to scroll
through the other messages stored in memory. Use the SOFT keys to
scroll through the current message’s contents.
5. Press YES to select the one you wish to use.
6. A copy of the message is created which you can edit if necessary
(remembering to check the destination, service centre, validity and
type).
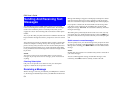
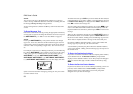
To Create a Message Based on a Provided Message
1. Press SOFT LEFT, 3 to enter Messages menu.
2. Press 2 to show the Originate menu.
3. Press 1 or YES to display the Create Message Menu
4. Press 3 to display the first three lines of the first message that is
provided by the phone. Use the <* and #> keys to scroll through all
five of these “built-in” messages. These messages are:
PLEASE CALL
PLEASE RETURN MY CALL ON
I WILL BE DELAYED UNTIL
I WILL MEET YOU AT
PLEASE RESCHEDULE MY APPOINTMENT WITH
5. Press YES to select the one you wish to use.
6. A copy of the message is created which you can edit if necessary
(remembering to check the destination, service centre, validity and
type).