Section 12
138 Date Book
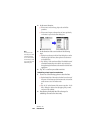
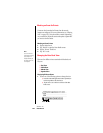
4. Set the event’s duration:
ᮣ If the event is one hour long, skip to the end of this
procedure.
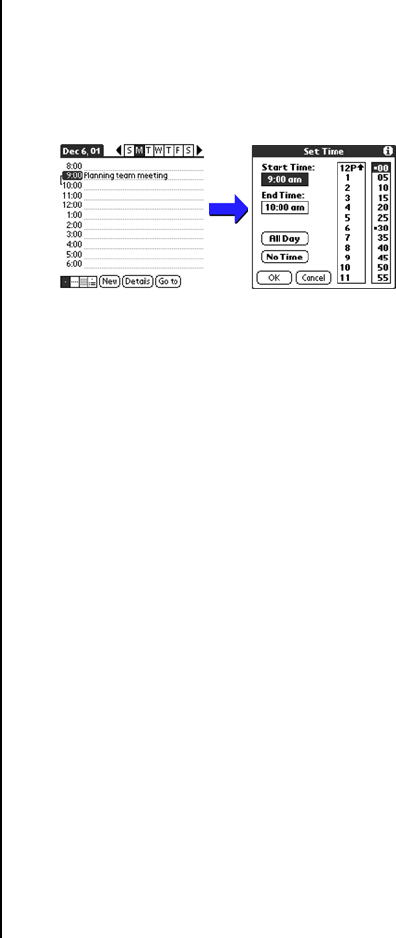
ᮣ If the event is longer or shorter than an hour, tap directly
on the time to open the Set Time dialog box.
Note:
You can open the Set
Time dialog box (to select
a start time) by making
sure no event is selected,
and then writing a number
on the number side of the
Graffiti writing area.
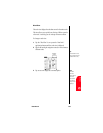
5. Set the duration of the event in either of the following
ways:
ᮣ Tap the time columns in the Set Time dialog box to set the
Start Time; Tap End Time; then tap the time columns to
set the End Time.
ᮣ Tap “All Day” if the event lasts all day. The default hours of
a standard business day are set by the user, and may be
changed using the Preferences command in the Date Book
application.
6. Tap “OK” to confirm your selection and exit.
Scheduling a timed event for another date
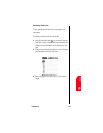
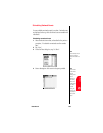
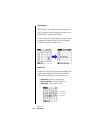
1. Choose one of the following options to select the Date:
ᮣ Tap the desired day of the week in the date bar at the top of
the screen. If necessary, tap the Previous week or Next week
scroll arrows to move to another week.
Or:
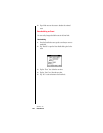
ᮣ Tap “Go To” at the bottom of the screen to open the “Go To
Date” dialog box. Select a date by tapping a day, month,
and year in the calendar.
2. After selecting the desired date, follow the steps for
scheduling an event for the current day.


