66
BACK to TOC
seCtIon 11 TOOLBOX: TOOLS
4. Connect your phone and your Bluetooth device by pressing Connect
( ) . “ Connecting...” appears in the display followed by “Connecting
Successful,” then the TrustedDevicesscreen appears in the display
showing the name of your Bluetooth device.
CALENDAR
With the Calendar tool, you can:
•Scheduleevents(Personal,
Business, Appointments, Birthdays,
and Vacations).
•Setanalarmtoactasareminder,
if necessary.
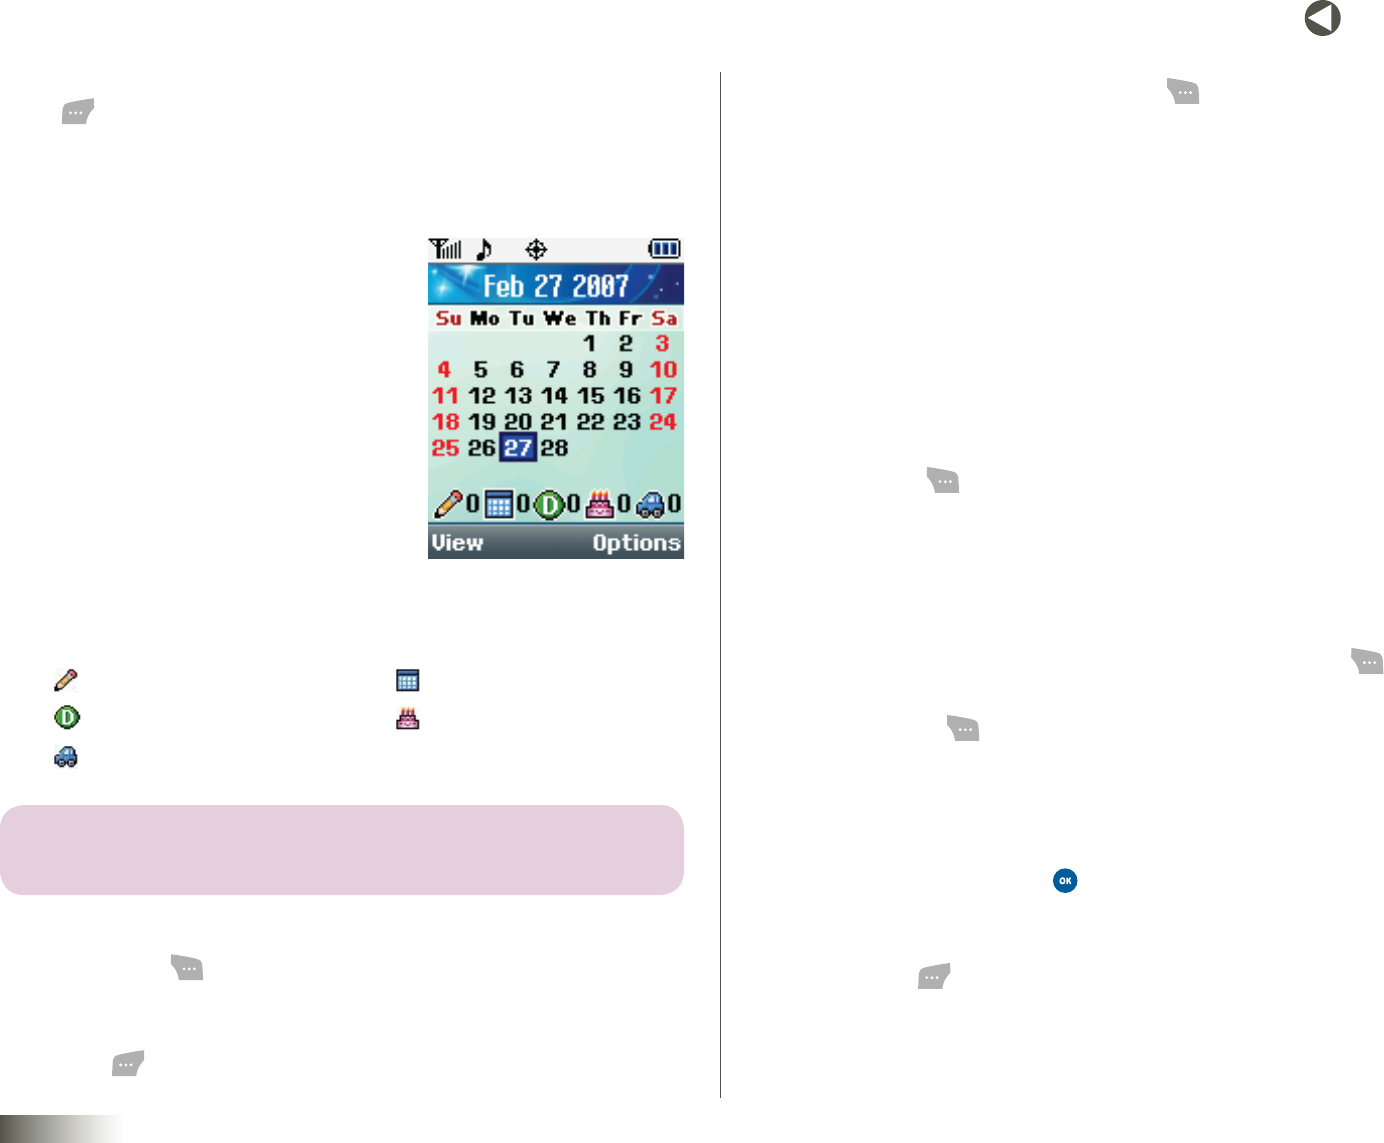
When you launch the Calendar tool, the
current month appears in the display with
the current date highlighted.
At the bottom of the Calendar, the following
event icons appear along with the number of entries in the calendar for
each event type:
Personalevents Businessevents
Appointments Birthdays
Vacations
note: THE NUMBER OF ENTRIES NEXT TO EACH ICON REFLECTS THE NUMBER OF
ENTRIES FOR THE SELECTED DAY ON THE CALENDAR.
To launch the Calendar tool:
1. Press Menu ( ), then select Toolbox, Tools, and Calendar. The
Calendar screen appears in the display with Today’s date highlighted.
2. To view the events scheduled for the highlighted date, press
View ( ).
3. To access other options, press Options ( ). The following options
pop up in the display:
•AddNew— Lets you create a Personal, Business, Appointment,
Birthday, or Vacation event.
•Jumptodate— Lets you choose to view Today’s events or to
view events on a date you enter, or you can specify that the Event
will occur a number of days after the current date.
•DeleteAll— Lets you delete all events from your Calendar.
Adding Events
To add an Event to your Calendar:
1. Press Menu ( ), then select Toolbox, Tools, and Calendar. The
Calendar screen appears in the display with Today’s date highlighted.
2. To move to another date, do one of the following:
•Toselectanothermonth,usetheUp/DownNAVKEY.
•Toselectanotherday,usetheLeft/RightNAVKEY.
•Tospecifyadateoratimeinterval(indays),pressOptions ( ),
then select the Jumptodateoption.
3. Press Options ( ). The following options pop up in the display:
•AddNew
•Jumptodate
•DeleteAll
4. Select AddNew and press . The NewEventtext entry screen
appears in the display.
5. Use the keypad to enter the Event name and any memo text, then
press Next ( ). (See Section 5, “Entering Text,” for more information.)
6. Use the Left/Right NAV KEY to select the type of Event (Personal,
Business, Appointment, Birthday, or Vacation).


