Creating a Contact
1. Tap New.
ᮣ
Tap OKto return to the contact list (the contact is saved automatically).
ᮣ
Notes is a good place for maps and directions.
2. Enter name and contact information. Scroll down to see all available
fields.
3. Tap Categoriesto assign the contact to a category. In the list, Contacts
can be displayed by category.
4. Tap the Notestab to add notes or a drawing, or to create a recording.
For more information, see “Notes: Capturing Thoughts and Ideas”
later in this chapter.
5. Tap OKwhen finished.
Note: If you want to add a phone number that should always be dialed as long
distance call, put +1 as number prefix.
Section 2: Understanding Your Device
2H: Using the Microsoft Pocket Outlook 91
Section 2: Understanding Your Device
90 2H: Using the Microsoft Pocket Outlook
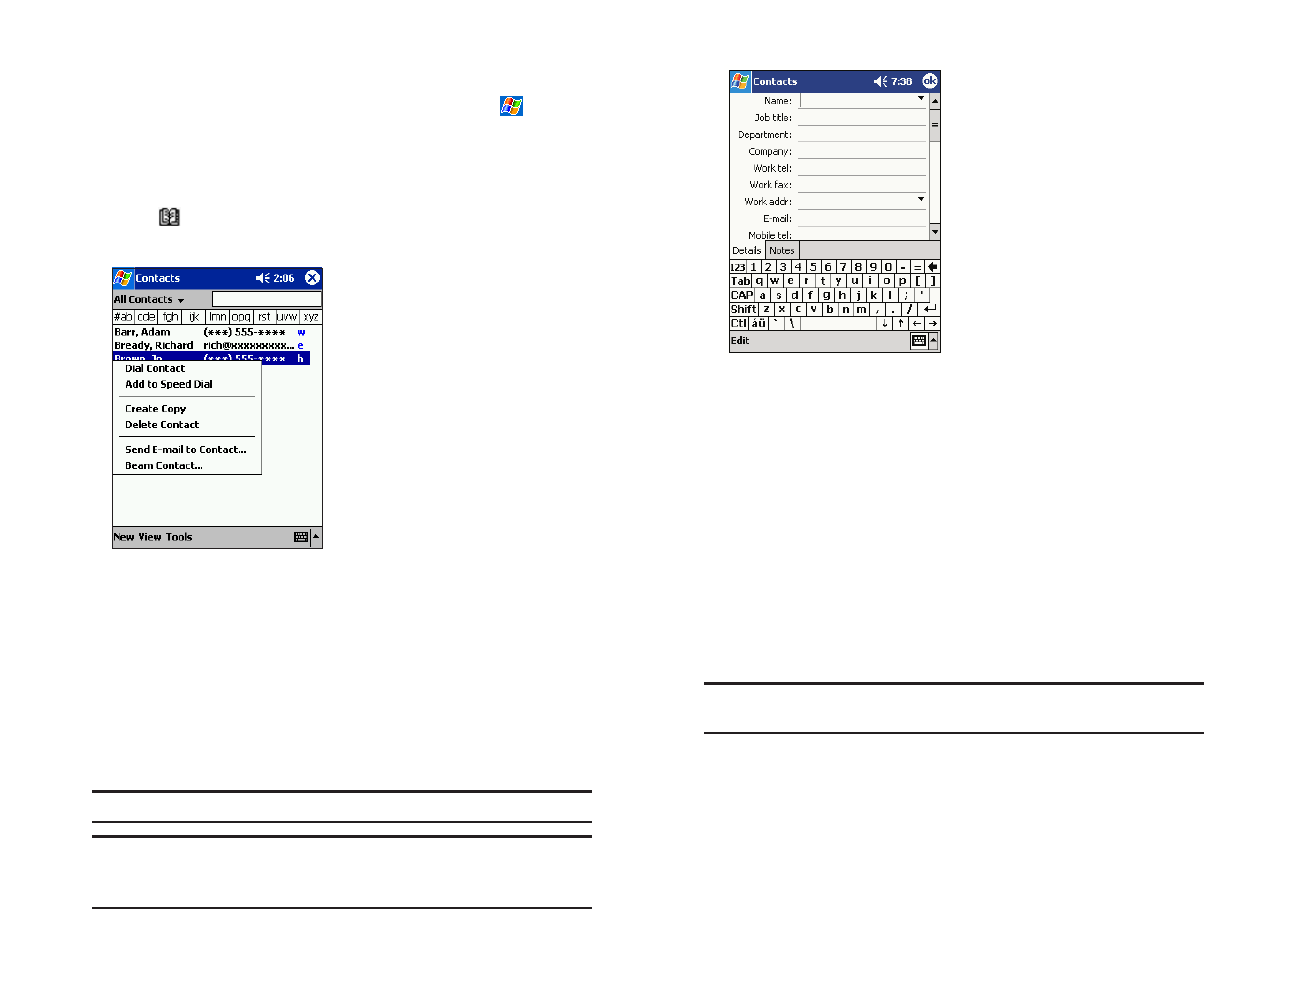
Contacts: Tracking Friends and Colleagues
Contacts maintains an easily accessible list of friends and colleagues (See
note). The device’s infrared (IR) port allows you to quickly share Contacts
information with other device users. To access Contacts, tap , then
Contacts. Or, press the Contacts Program button on the front of the device.
You can also access Contacts with the following method from the phone
function’s screen.
ᮣ
Tap on the VOICEtab screen.
ᮣ
Pressing “Up” on the navigation button.
ᮣ
Tap All Contacts to select the category of contacts you want displayed
in the list.
ᮣ
Tap the search box and enter part of a name to quickly find it in the list.
ᮣ
Tap to the right an entry to see additional phone numbers and email
addresses.
ᮣ
Tap on an entry to display or edit the contact details.
ᮣ
Tap and hold to display a pop-up menu of actions.
Note: Tap Toolsthen Optionsto change the way information is displayed.
Note: When transferring the contact to another device by using infrared (IR), tap
and hold that contact, then tap the
Beam Contact from the displayed pop-up
menu. For more information, See “Transferring Items Using Infrared” on page 128.
SPRINT2H.QXD 02.8.7 2:45 PM Page 90


