Copyright © 2002 Nokia. All rights reserved.
Messaging
68
message or select Options→ Sending options when you are creating a multimedia
message. When you are sending a multimedia message to an e-mail address or
another Nokia 7650, if possible, use the larger image size (network dependent). To
change the setting, select Options→ Sending options → Image size→ Large when you
are creating a multimedia message.
1 In Messaging, select New message→ Create: Multimedia message and press the joystick.
2 Press the joystick to select the recipient(s) from the Contacts directory or write the
phone number or e-mail address of the recipient in the To: field. Add a semicolon (;) to
separate each recipient. Move the joystick down to move to the next field.
3 You can add the different objects of the multimedia message in any order you want.
• To add an image, select Options→ Insert → Image or New image.
• To add a sound, select Options→ Insert→ Sound clip or New sound clip. When sound
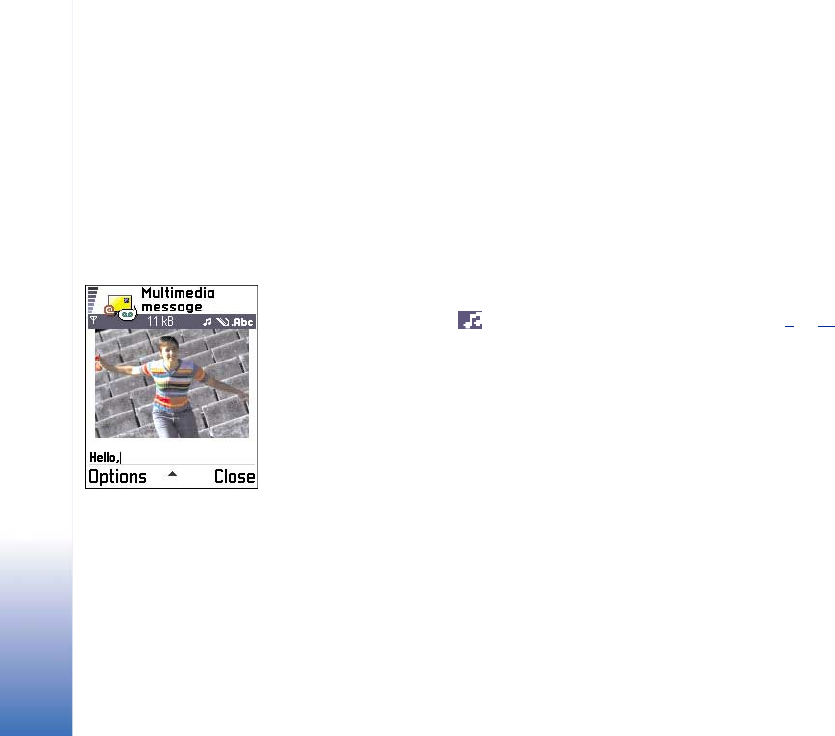
has been added, the icon is shown in the navigation bar. See Fig. 4
, p. 68.
• To write text, move the joystick down.
• If you select Insert→ Image, Sound clip, or Template, a list of items opens. Scroll to the
item you wish to add and press Select.
• If you select Insert→ New image, Camera opens and you can take a new picture. Press
Delete to remove the picture and take another instead.
• If you select Insert→ New sound clip, Recorder opens and you can record a new sound.
The new photo or sound is automatically saved and a copy is inserted in the message.
Fig. 4 Creating a
multimedia message
