Editing an existing view
Chapter 3 Building custom views 113
You can also move a custom view to another category and rename it. For more
information, refer to “Saving views to new names or categories” on page 114.
You can also click the
General tab and make changes to the view definition.
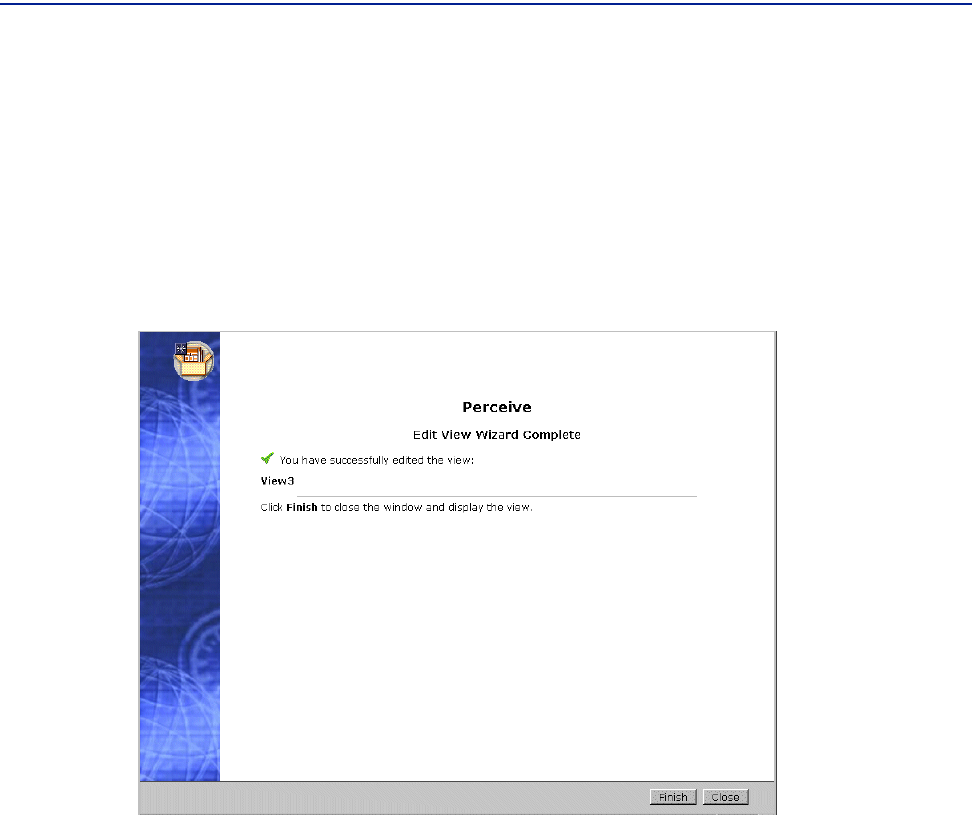
After you make changes, confirm those changes by clicking
OK, which opens an Edit
View Complete Wizard page, as illustrated in Figure 47. Click
Finish on the wizard
page, and the page closes and your customized view is displayed in Perceive.
Figure 47 Edit View Wizard Complete Page
To edit the view
1
Click the General tab to change the properties you defined on the first page of Add
Views, such as the name or description. For more information, refer to “Specifying
the type of view you want” on page 102.
2 To change a style of a view while editing an existing view, click the General tab and
change the style as follows:
A To create a view with multiple charts for one computer, select Computer.
B To create views for all computers in a group (one or two charts for each
computer), select
Group.
3 Click the Objects tab to resize or replace charts. For more information, refer to
“Constructing the view layout with associated metrics” on page 105.


