Copyright
©
2005 Nokia. All rights reserved.
Getting started
18
Switching on the smartphone
WARNING: To use any features in this smartphone,
other than active alarms, the smartphone must be
switched on. Do not switch the smartphone on when
wireless phone use may cause interference or danger.
To switch the smartphone on or off, press and hold
the power key . This smartphone can be used
without the phone functions when the Flight profile is
selected. For more information, see “Profiles” on
page 45.
If the smartphone requests a PIN code, enter the code
(displayed as ****), and tap OK. The PIN code protects
your SIM card against unauthorised use and is usually
supplied with the SIM card. After three consecutive
incorrect PIN code entries, the PIN code is blocked, and
you must unblock it with a PUK code
before you can use the SIM card again. If the codes are
not supplied with the SIM card, contact the operator
whose SIM card is in your smartphone.
If the smartphone requests a lock code, enter the
code (displayed as *****) and tap OK. The lock code
protects your smartphone against unauthorised use.
The factory setting for the lock code is 12345. Change
the code, and keep the new code secret and in a safe
place separate from your smartphone. The lock code
can be from 5 to 10 digits.
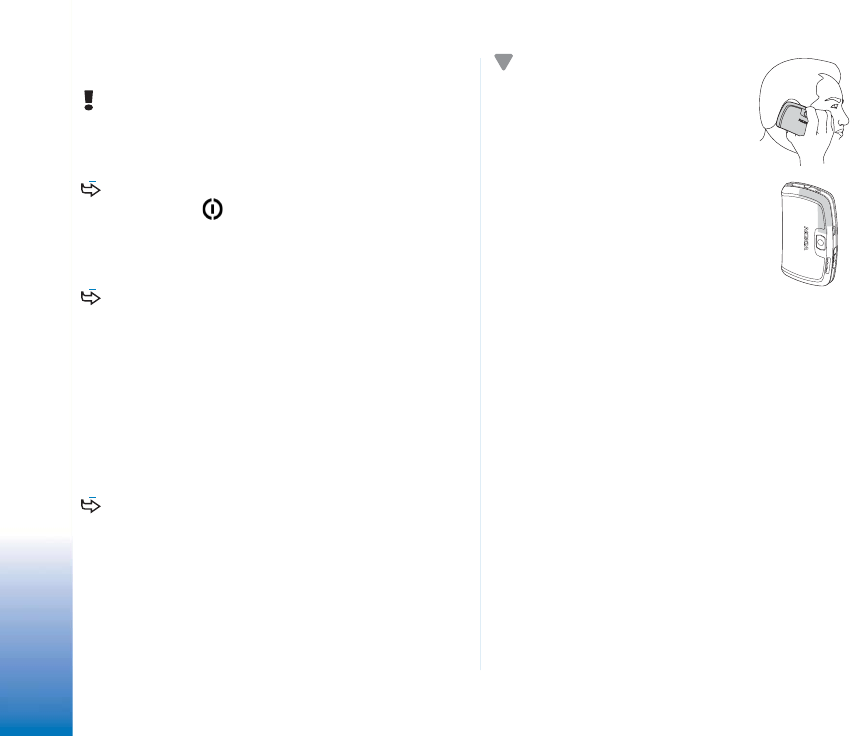
Note: Your smartphone has an
internal antenna. As with any other
radio transmitting smartphone, do
not touch the antenna
unnecessarily when the
smartphone is switched on.
Contact with the antenna affects
call quality and may cause the
smartphone to operate at a higher
power level than otherwise needed.
Avoiding contact with the antenna
area when operating the
smartphone optimises the antenna
performance and the battery life.
The picture shows how you should hold your smartphone
when talking on the phone. The antenna area is shown in
grey.
First start-up
When you start up your smartphone for the first time, you
are asked to calibrate the touch screen and define certain
settings. Based on the type of SIM card you use your
smartphone may be able to automatically add the correct
settting for Web browsing and MMS.
All the settings can later be modified in the Control Panel
application or in relevant applications.


