


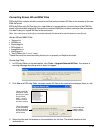

2 - 26
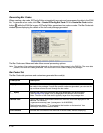
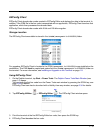
C:\Program Files\Honeywell\Dolphin Power Tools and Demos\Device Image\Converted Files\Upgrade
X.
The X increases by one each time you run a batch conversion.
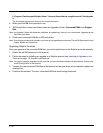
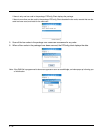
4. When you click OK, the conversion runs.
5. EZConfig Editor creates two folders inside the Upgrade X folder: Converted EXMs and Original
INIs.
Note: An Upgrade X folder with these two subfolders is created every time you run a conversion. Upgrades do not
save over each other.
6. Check each converted EXM file in EZConfig Editor.
Note: Even though conversion is complete, you have not yet upgraded your terminal! The old INI files remain in their
original location on the terminal.
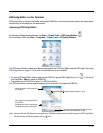
Upgrading Dolphin Terminals
Once you approve of the converted EXM files, you must transfer them to the Dolphin terminals manually.
1. Delete the old INI files stored in the terminal.
2. Follow the steps for installing an upgrade on a Dolphin terminal (see Installing an Upgrade on the
Terminal on page 1-9) but don’t cold boot yet.
Note: You want to install an upgrade to make sure that you have the latest versions of AutoInstall.exe, Autorun.exe,
and EZConfig Editor on the terminal.
3. Transfer the new converted EXM files to the terminal and say yes when you are asked to replace the
existing files.
4. Cold boot the terminal. The new, converted EXM files install during AutoInstall.