


Experiencing Multimedia 125
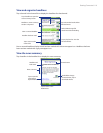
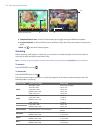
Quick Settings Panel
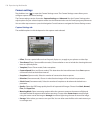
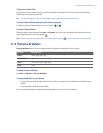
The Quick Settings Panel provides a quick way of adjusting the most common camera settings. Tap on the
screen to open the Quick Settings Panel. Keep tapping a button on the panel, for instance, Resolution, to
cycle through the available settings.
Note The available settings on the menu depend on the Capture mode selected.
3
5
4
1
2
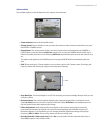
1 Resolution. Available resolutions include:
.
See the table in the previous page for the detailed capture sizes.
2 Storage. Tap to toggle between saving captured photos or video clips on the device memory ( ) or on
the storage card ( ).
3 White Balance. White balance settings include:
Auto ( ), Daylight ( ), Night ( ), Incandescent ( ), and Fluorescent ( ).
4 Self-timer. Tap to set the Self-timer to 2 seconds, 10 seconds, or Off when in the Photo or Contacts
Picture mode. When you press the CAMERA or ENTER button to capture a still image, it starts to count
down, and then captures a still image after the assigned time.
5 Brightness. Tapping the minus/plus icon ( / ) decreases or increases the brightness level.
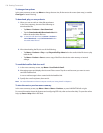
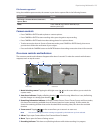
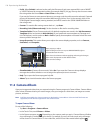
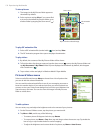
The Review screen
Review screen
After taking a still image or recording
a video clip, you can view the image or
video clip on the Review screen.
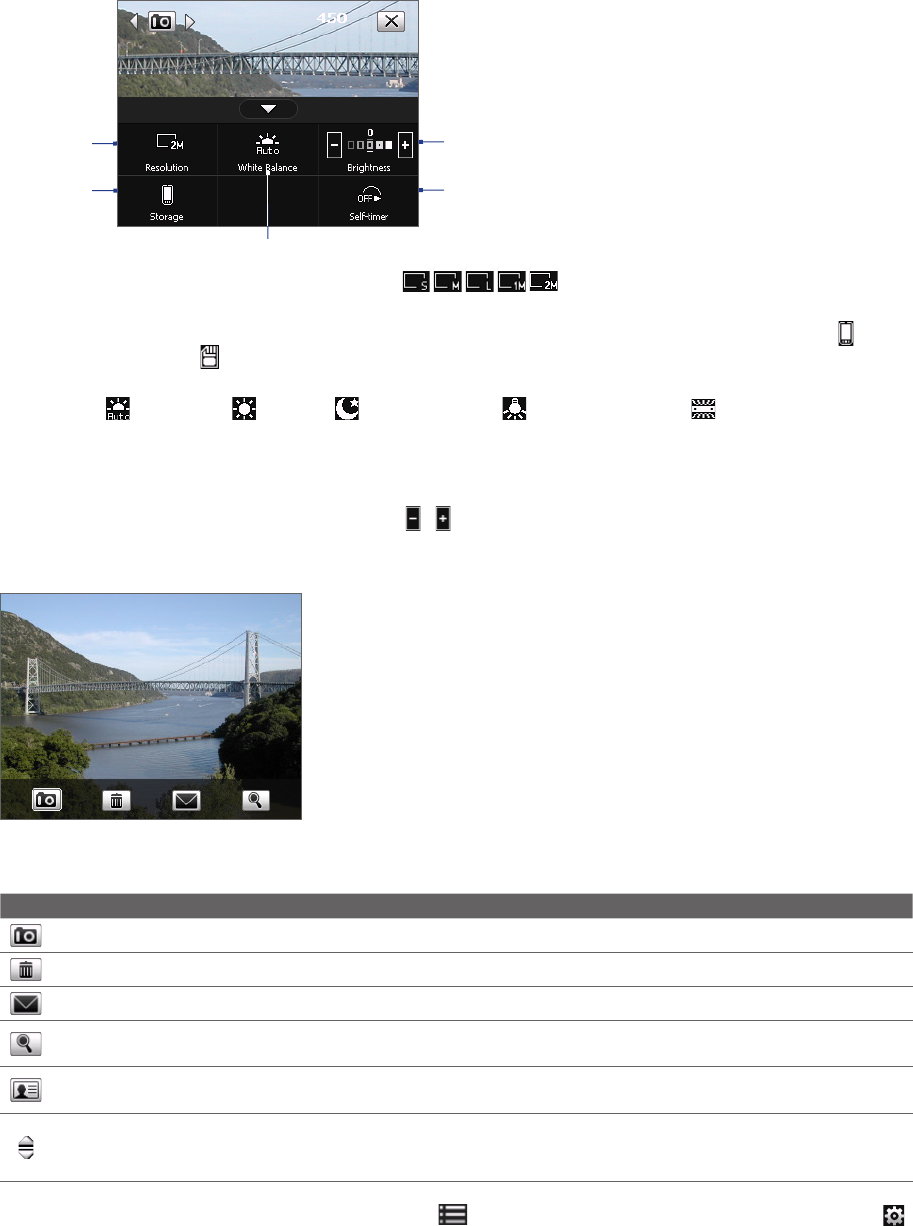
You can also tap the following icons at the bottom of the Review screen:
Icon Function
Back Go back to the live Camera screen.
Delete Remove the captured image or video.
Send Send via e-mail.
View
View the image in the Camera Album program, or play the captured video in Windows Media®
Player.
Assign to
Contacts
Associate the photo to a selected contact.
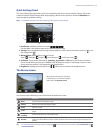
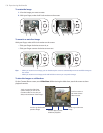
Browse
After capturing in Sports or Burst mode, the total
number of consecutive shots is shown in the top
right corner of the Review screen. Tap the up/down arrow to browse through the sequence of
photos.
Tip You can set the Review screen duration by tapping on the Camera screen and then tapping Advanced tab
> Review Duration.