66
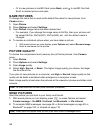
• Or to view pictures in miniSD Card, press Back, scroll to miniSD Card tab.
Scroll to desired picture and open.
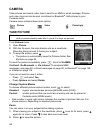
NAME PICTURES
To change the name that is used as the default file name for new pictures, from
Camera menu:
1. Open Picture.
2. Press Options and select Settings.
3. Open Default image name and enter desired text.
• For example, if you change the image name to SkiTrip, then your pictures will
be named SkiTrip, SkiTrip(001), SkiTrip(002), etc. until the default name is
changed.
4. To rename an individual picture when you have taken a picture:
1 With saved picture on main display, press Options and select Rename image.
2 Enter a new name for the picture.
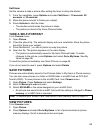
PICTURE QUALITY
To choose the compression level (memory size) of future pictures, from Camera
menu:
1. Open Picture.
2. Press Options and select Settings.
3. Open Image quality.
4. Select High, Normal, or Basic. The higher image quality you choose, the larger
the file size will be.
If you plan to view pictures on a computer, use High or Normal image quality so the
quality will be better maintained when enlarged on a computer screen.
Basic image quality is best when the pictures will be viewed on phones and other small
screens.
SEND PICTURES
Send the picture you just took to your family and friends.
1. With saved picture on main display, press , or press Options and select
Create message > Via MMS, Via Email, Via Bluetooth, or Via Infrared.
2. To complete MMS messages, see page 49; or Email messages on page 50; or
Bluetooth
®
on page 120; or Infrared on page 118.
Note: All three levels are 640x480 pixels resolution (sharpness).
Note: Email option will appear once you set up an Email Inbox in Messages menu.


