Chapter 5 : Email and other messages 69
Enter advanced account settings
These settings apply only to the account you select in step 3.
1 Open Email .
2 Open the application menu and tap Preferences & Accounts.
3 Tap the account name.
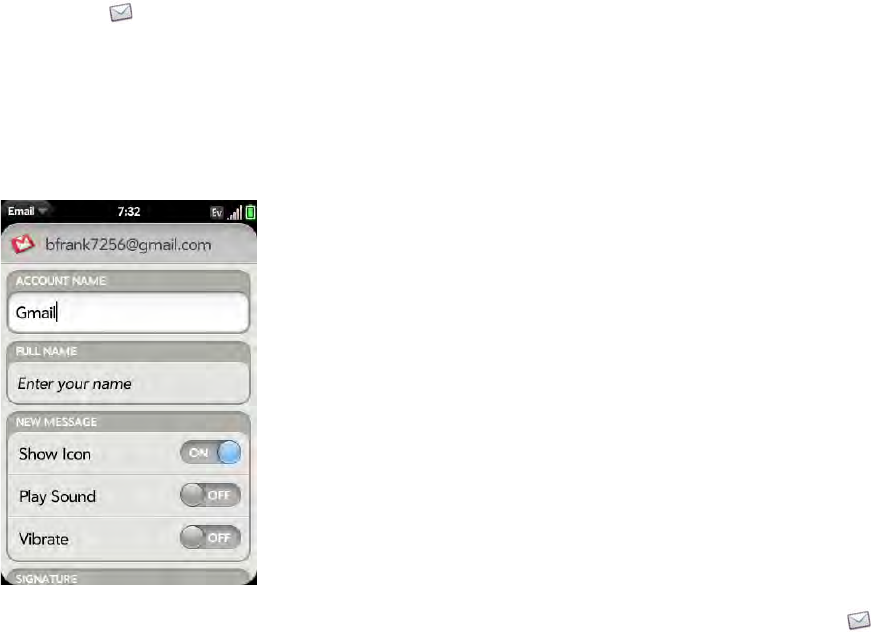
4 Set any of the following:
Account Name: Enter the name that appears in the account list.
Full Name: Enter the name you want to appear in the From field for
messages you send.
Show Icon: Set whether a notification icon appears onscreen when a
new message arrives.
Play Sound: Set whether a sound plays when a new message arrives.
Vibrate: Set whether your phone vibrates when a new message
arrives.
Signature: Tap to create a signature that’s added to outgoing
messages (see Add a signature to outgoing messages for more
information).
Reply-to Address: Enter the address you want recipients to see and
reply to on your outgoing messages, if this is different from your actual
email address.
Sync deleted emails (POP accounts only): Set whether messages
should be deleted on the server when you delete them on your phone.
Show Email: Set how many days’ worth of messages to retrieve from
the server.
Get Email: Set how frequently to synchronize email for this account.
Default Folders (IMAP accounts only): Specify the folder where
messages you send, save as drafts, or delete are stored.
Remove Account: See Delete an email account.
Change Login Settings: See Change account login settings.
Change account login settings
When you change your password for an online email account, remember to
make the change in the account settings on your phone also.
1 Open Email .
2 Open the application menu and tap Preferences & Accounts.
3 Tap the account name.
4 Ta p Change Login Settings and tap the relevant fields to change the
account information.


