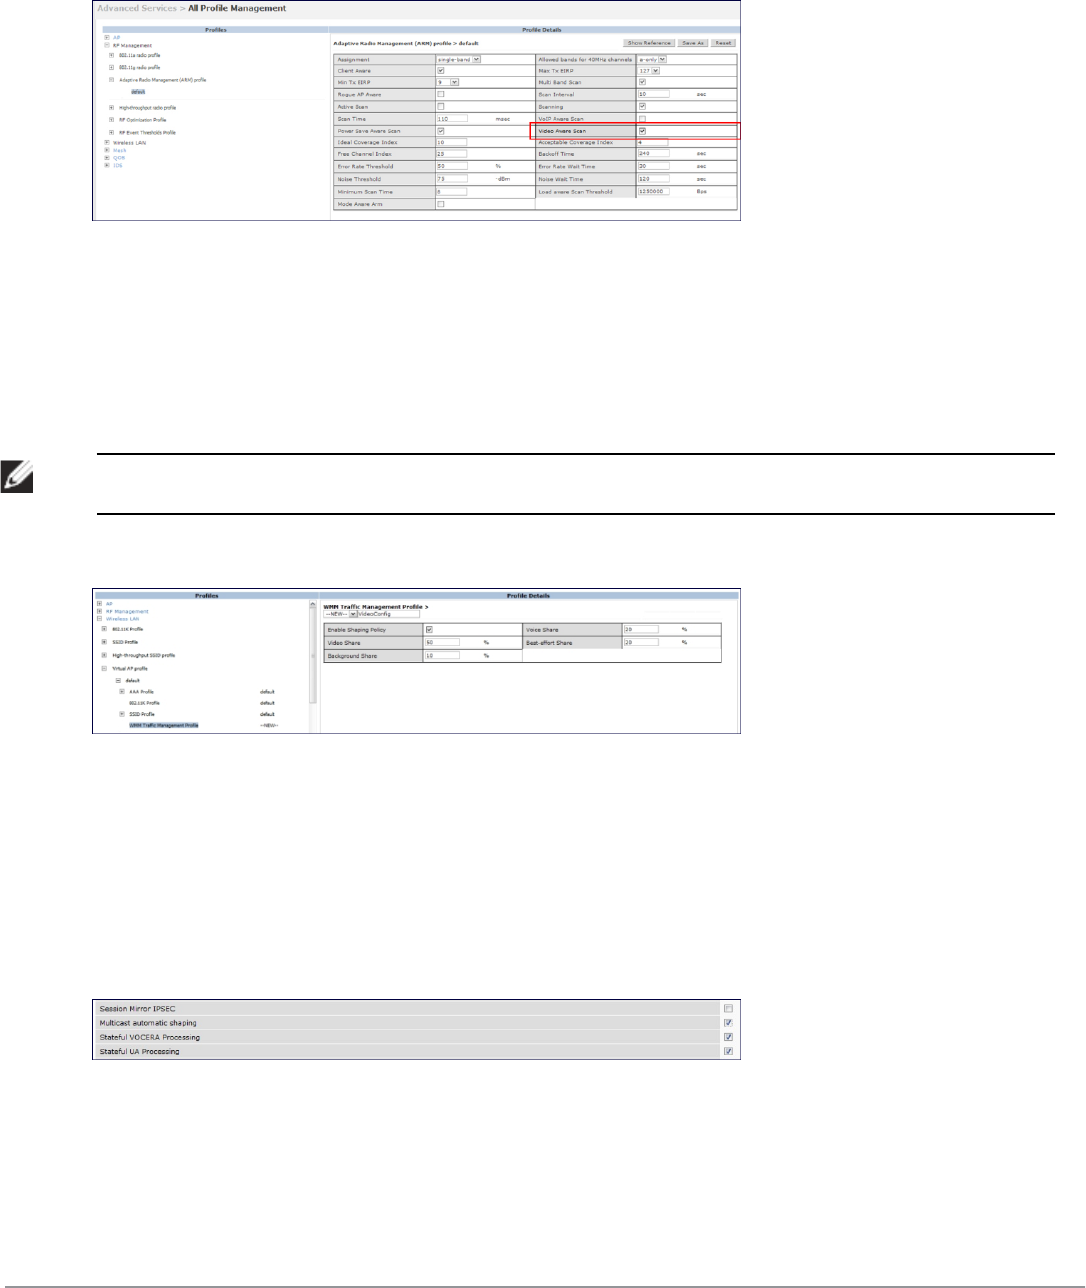
Under the Profiles column, expand RF Management > Adaptive Radio Management (ARM) Profile and select
the profile name. This example uses the
default
profile. Select the Video Aware Scan option and click the Apply
button.
Figure 296: Enabling Video Aware Scan
7. Configure and apply bandwidth management profile
Under the Profiles column, expand Virtual AP >
[profile-name]
> WMM Traffic Management Profile. In the
Profile Details section, select the profile name from the drop down list box. Select the Enable Shaping Policy
option and enter the bandwidth share values. Click the Apply button to save the settings.
This step is optional.
NOTE: Ensure that you configure the WMM traffic management profile to the virtual AP profile if you have configured the virtual AP
traffic management profile.
Figure 297: Configuring bandwidth management
After you configure the WMM bandwidth management profile, apply it to the virtual AP profile.
8. Enable multicast shaping on the firewall.
a. Navigate to the Configuration > Advanced Services > Stateful Firewall page.
b. Click the Global Setting tab and select the Multicast automatic shaping checkbox.
c. Click the Apply button to save the configurations.
Figure 298: Enable Firewall Multicast Shaping
Working with QoS for Voice and Video
QoS settings for voice and video applications are configured when you configure firewall roles and policies.
DellPowerConnectW-SeriesArubaOS6.2 | User Guide Voiceand Video | 694


