


16 2A. Device Basics
Installing and Removing the Battery
Always turn off your phone before installing or replacing the battery. You also need to remove the back cover
before you can install these components.
To install the battery:
ᮣ See “Setting Up Your Phone” on page 2.
To remove the battery:
1. Make sure your phone is turned off.
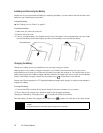
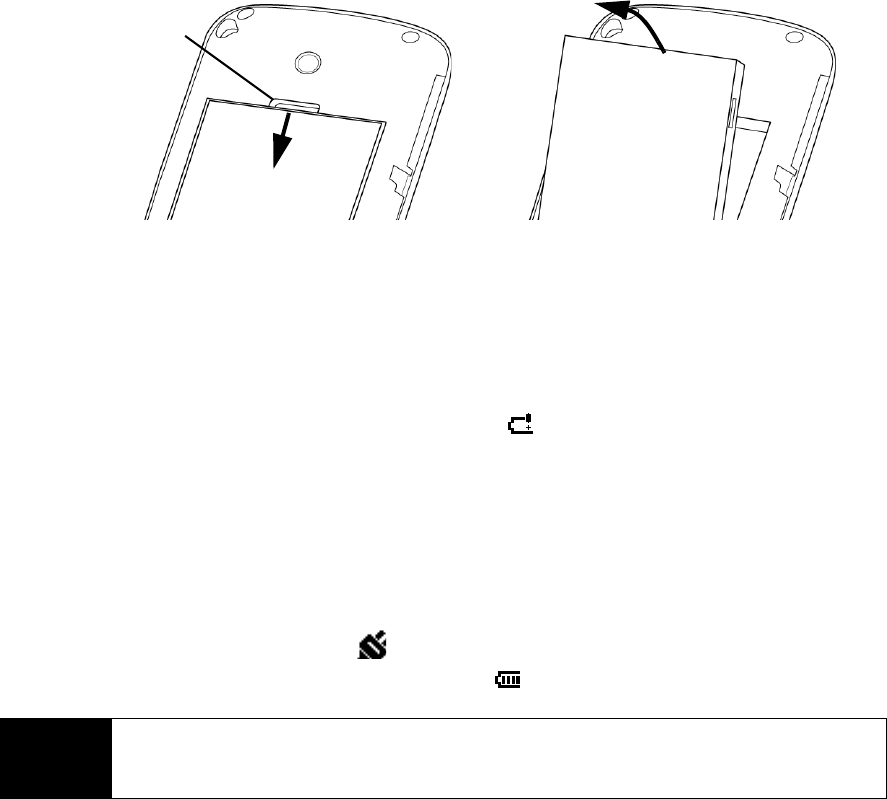
2. Remove the back cover.
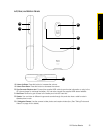
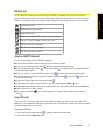
3. There is a recessed area in the chassis near the top of the battery. In this recessed area, use your finger
to press the battery downwards slightly, and then pull the battery out to remove the battery.
Charging the Battery
Charge your battery as soon as possible so you can begin using your phone.
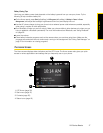
Keeping track of your battery’s charge is important. If your battery level becomes too low, your phone
automatically turns off, and you will lose any information you were just working on. For a quick check of your
battery level, glance at the battery charge indicator located in the upper-right corner of your phone’s display
screen. If the battery charge is critically low, the battery icon ( ) will be shown in the title bar.
Always use a Sprint-approved or HTC-approved desktop charger, travel charger, or vehicle power adapter to
charge your battery.
To charge the battery:
1. Connect the USB connector of the phone charger to the sync connector on your phone.
2. Plug in the phone charger to an electrical outlet to start charging the battery.
Charging is indicated by a charging icon ( ) in the title bar of the Home screen.
After the battery has been fully charged, a full battery icon ( ) appears in the title bar of the Home screen.
WARNING
• Do not remove the battery from the phone while you are charging it using the phone charger or car
adapter.
• As a safety precaution, the battery stops charging when it overheats.
Recessed area