Polycom RealPresence Resource Manager System Operations Guide Manage Users
352 Polycom, Inc.
Examples
This first example shows all fields specified:
js@co.com, John, Smith, js@co.com, Tech I, IT, Boulder,
303-333-4444, Role 1|Role 2, JSpw
This example shows only the required fields specified. In this case, the user
will be given a blank first name, title, department, city and phone number, no
role and a generated password.
j
doe, , Doe, doe@co.com, , , ,scheduler, ,
Import the CSV File
You need to have either an administrator or area administrator role to import
users.
To import local users to the RealPresence Resource Manager system
1 Choose User > Users and click Import Local Users.
2 In the File Location (CSV) field, browse to the location of the CSV file
you created.
3 If areas are enabled and you manage more than one area, select an area
from the Assign Area drop-down list.
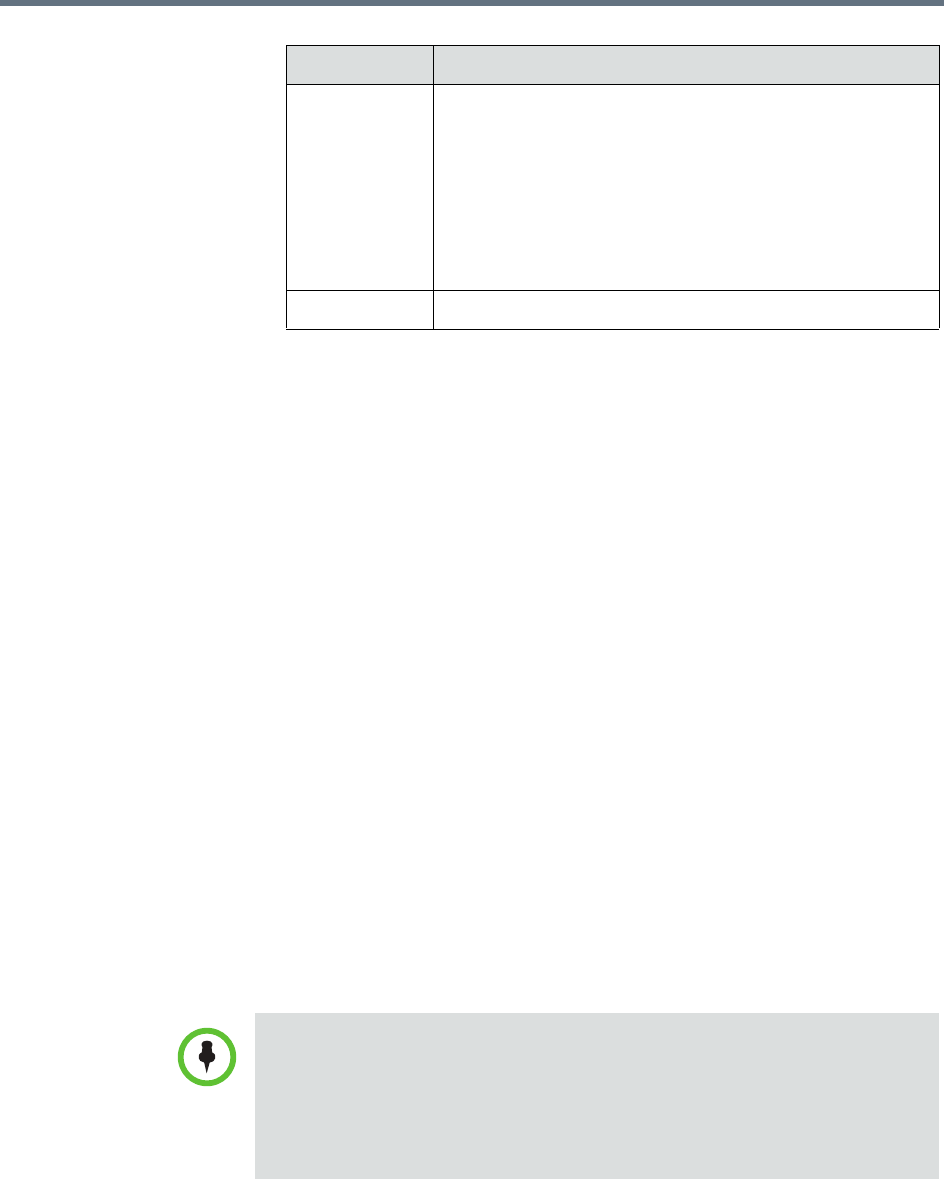
Password If any of the users have no password specified, then a
single default password is generated and assigned to all
those without a password specified. The administrator will
be shown what password was assigned to all and is
responsible for writing it down and communicating it to all
the users.
For users assigned default passwords, the first time they
log in, they will be required to change their password.
Email Be sure to includes a valid email address.
Field Usage Notes
Importing Users into an Area
If Areas are not enabled on your RealPresence Resource Manager system or
you only manage one area, the Areas drop-down is not available.
If Areas are enabled and the you manage more than one area, you must select
an area to which all the users will be added. You can also select None to add
the users to no area.


